Thinking of making your own maple syrup this season? Overwhelmed with decisions about what to buy, and how much everything costs? Below, we go over how to make maple syrup on a budget. What you need, how you can get started affordably, and where spending a bit more might be worth it.
Making Maple Syrup
Making maple syrup sounds easy: collect the sap and boil it down. But as you learn more about the process, you learn about more specialty equipment! Everyone has an opinion about how to do it the right way, and what sort of specialty equipment you need to get started. DON’T PANIC! We’ll go through how you can start making maple syrup on a budget.
Tapping Trees
A few tools are essential to tapping your trees to get sap. You need:
- a drill with 5/16″ or 7/16″ bit, whichever matches your spiles (see below!),
- a hammer or mallet, AND
- 5/16″ or 7/16″ spiles – also called “taps” (you can find more maple syrup lingo definitions here).
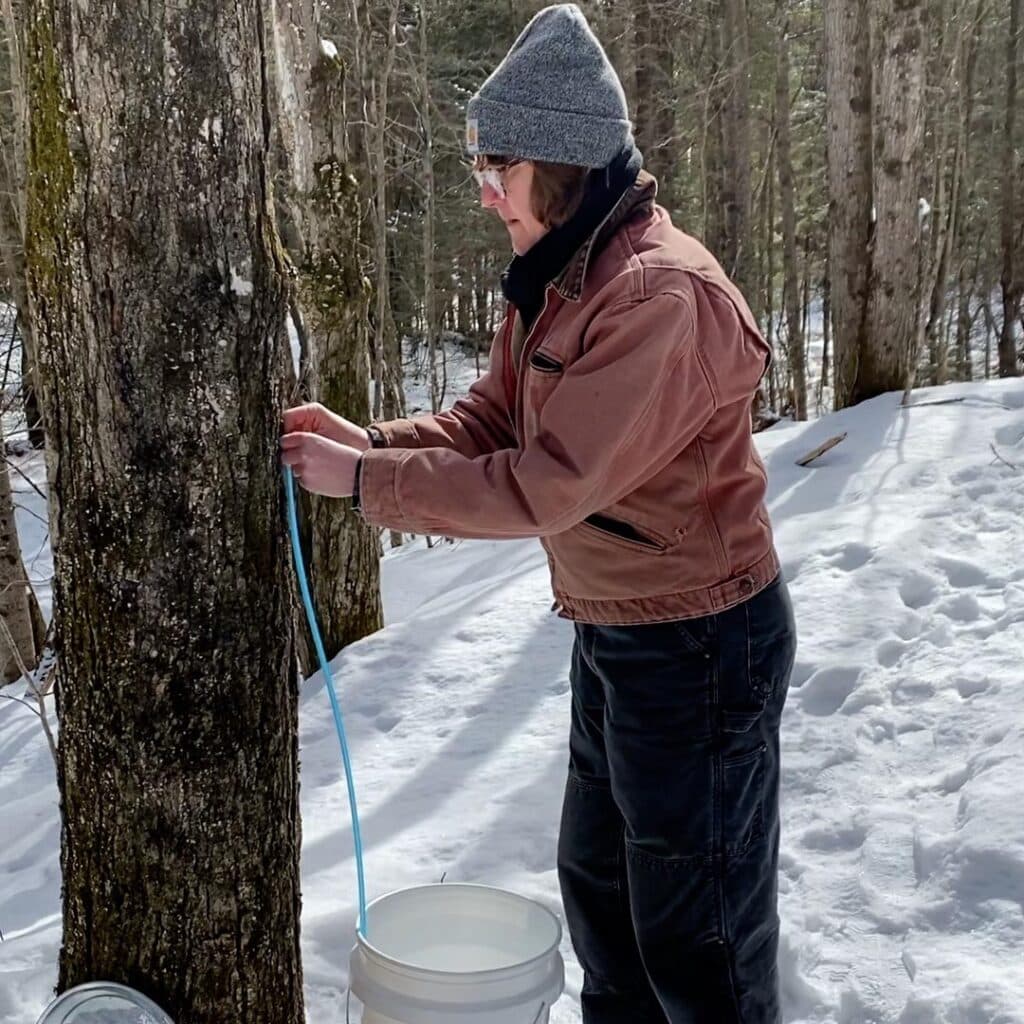
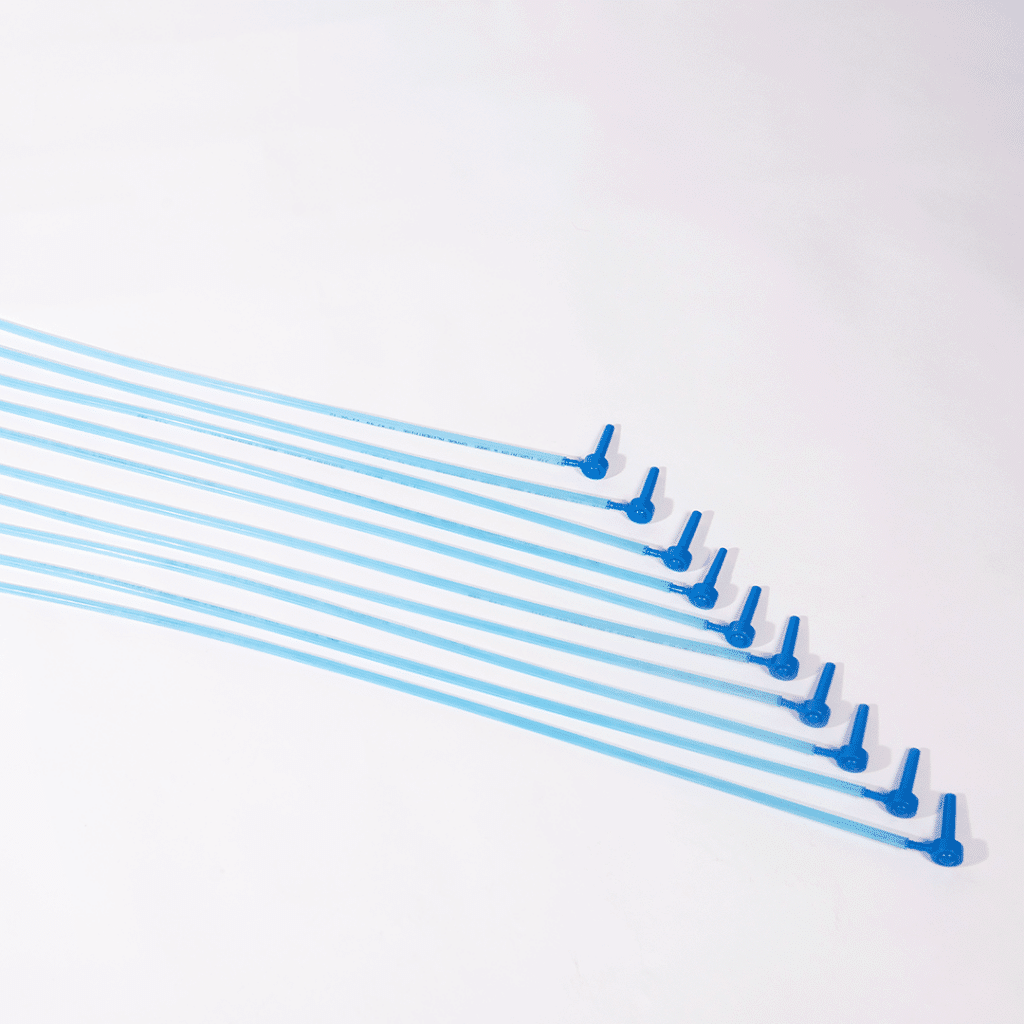
To get the sap out of the tree to boil, you need to tap the tree and collect the sap. You will use something called a spile to get the sap out of the tree. Spiles are a small conduit that helps to get the sap from inside the tree to outside the tree. The cheapest way to do this these days is to use plastic spiles, like these. They are relatively inexpensive, come with drop lines, and you can feed them into any food-safe container you set right on the ground.
What about buckets?
Many people think of buckets on trees when they think about making maple syrup. We love the look of them, and hearing the ping – ping – ping fresh sap makes when running into the bucket. Yet, when making maple syrup on a budget, the most affordable way to get started is with plastic taps with drop lines.
Once you decide on spiles, it’s time to tap your tree. You may already have a drill, or know someone who you can borrow one from. You’ll need a 5/16″ or 7/16″ drill bit, depending on which spiles you choose to go with. For these plastic ones, you’ll need 5/16″. If you already have the size drill bit you need at home, great! If not, you can get a low-cost one from your local hardware store. Or, for a bit more money, you can get one that is specially designed for tapping trees. But any of the above (old, hardware store, or online tapping bit) will work to put the appropriate hole in your tree.
After that, all you need is a hammer or mallet to gently tap the spiles into the hole in the tree!
Collecting Sap
Next, you need to collect your sap. To do so, you’ll need a food-safe container. There are many food-safe containers you may already have that you can use! Water or cleaned milk gallon jugs, or even the larger, blue, plastic, water-cooler jugs will work. Alternately, a local restaurant might be swimming in food-grade, 2-gallon buckets and be open to parting with some. If you are up for spending a bit of money for this step, a set of food-grade, 5-gallon buckets will work well and double as sap storage containers.
Storing Sap
If you are using gallon jugs, water cooler jugs, or even food-grade, 5-gallon buckets, sap storage is the next step. While the sap is running, you should empty your collection containers daily into a lidded food-grade container. Store these containers in a refrigerated situation until you are ready to boil: a snow bank on the north side of a building, or inside a cool barn or garage works great. Be sure that you cover is on tight as bugs and other critters love the sweet sap! Food-grade, 5-gallon lidded buckets are perfect for storing sap; you should avoid storing sap in containers that are not food safe, such as trash cans and the regular 5-gallon buckets you can find at hardware stores. You can read more about collecting and storing sap here.
Boiling and Arches
Once you have enough sap to get started, (as little as a few gallons will get you started) it’s time to boil down your sap. You’ll need to choose a vessel to do the boiling in. A great way to get started in this new hobby is to use something you already have lying around. You can use a stock pot over a turkey fryer, or a restaurant pan over a wood fire. Here are a few tips for selecting the best boiling vessel:
-
Pick something with large capacity and the most surface area possible! You want to make sure your sap is always boiling, and you want to make sure that the steam/water can escape easily. In this step, you are removing the water from the sap so that you’re left with a sweetened syrup. Large, higher surface area pots you may already have include beer brewing pots, lobster/crab boil pots, or that turkey fryer pot from Thanksgiving!
-
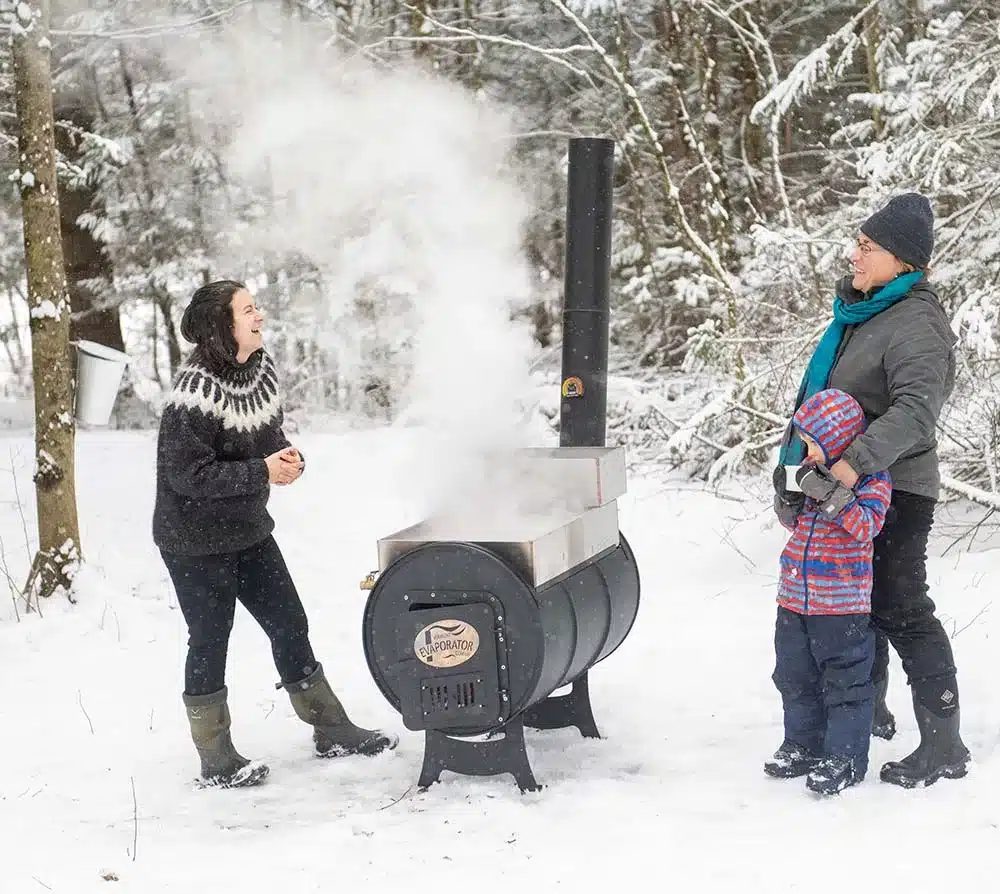
Some of you may have access to restaurant pans, either through a garage sale, craigslist, or a family member who “collects” things. If you find yourself in this situation, you can build what some sugar makers call an arch. An arch is a place where you build your fire to boil maple sap. Often, when getting started, people will build an arch out of cinder blocks and put a pan directly on top of that. Another frequently seen DIY arch is a barrel-style evaporator. Using an arch will direct more heat toward your pan, and increase the efficiency of your boil. You can use propane or wood in such an arch.
- If you have it in your budget, a specialized baffled pan will add a ton of efficiency to your boil. This means you’ll have more syrup in less time, with less fuel.
Fuel
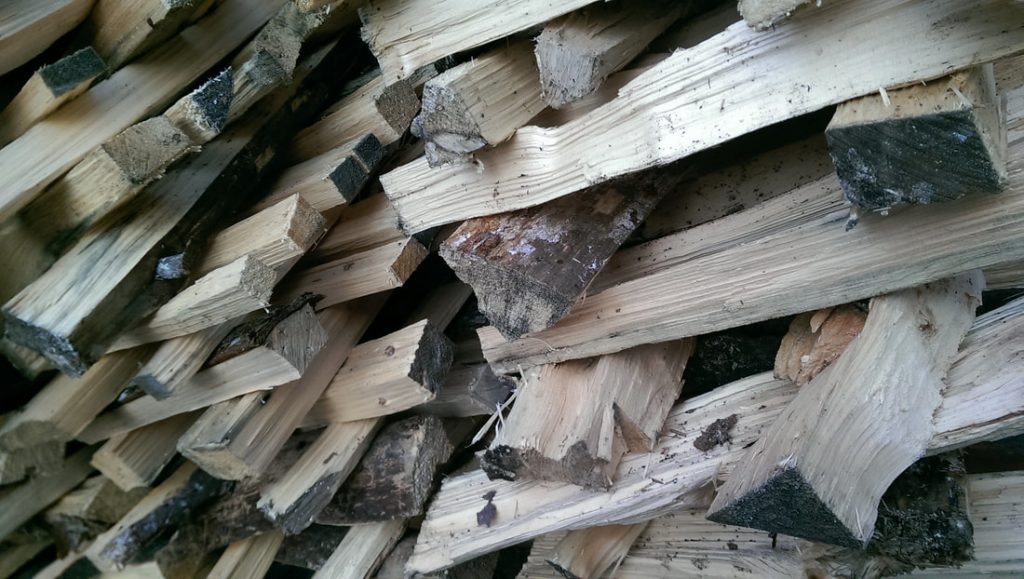
The other area of making maple syrup that you may need to spend money on is the fuel for the fire. Your fuel can be propane if you are using a propane burner, or wood if you are boiling over a wood fire. These costs vary and depend on what’s already available to you. Propane is expensive; several years ago it took us $75 of propane to make 3/4 of a gallon of maple syrup on our propane grill. That’s expensive syrup! Wood, on the other hand, is fairly inexpensive or even free. You can use any wood to make maple syrup, including things you would not use to heat your home, such as soft wood, untreated, broken-down pallets, and untreated construction material waste or “slag” wood from a local mill. You can read more about sourcing wood for making maple syrup here.
Many people start making maple syrup over a propane burner with a pot they have at home. This is more expensive than investing in a restaurant pan and boiling over a wood fire, but, depending on how much syrup you are making, may still be less expensive than purchasing a baffled pan and using wood. The amount of propane it takes to boil down the stock pot of sap adds up, so think about which you’d rather invest in: a larger flat or baffled pan that uses wood, or a pot from home on propane. Either choice is fine, so don’t panic, just make your choice and have fun with it!
Finishing Your Maple Syrup
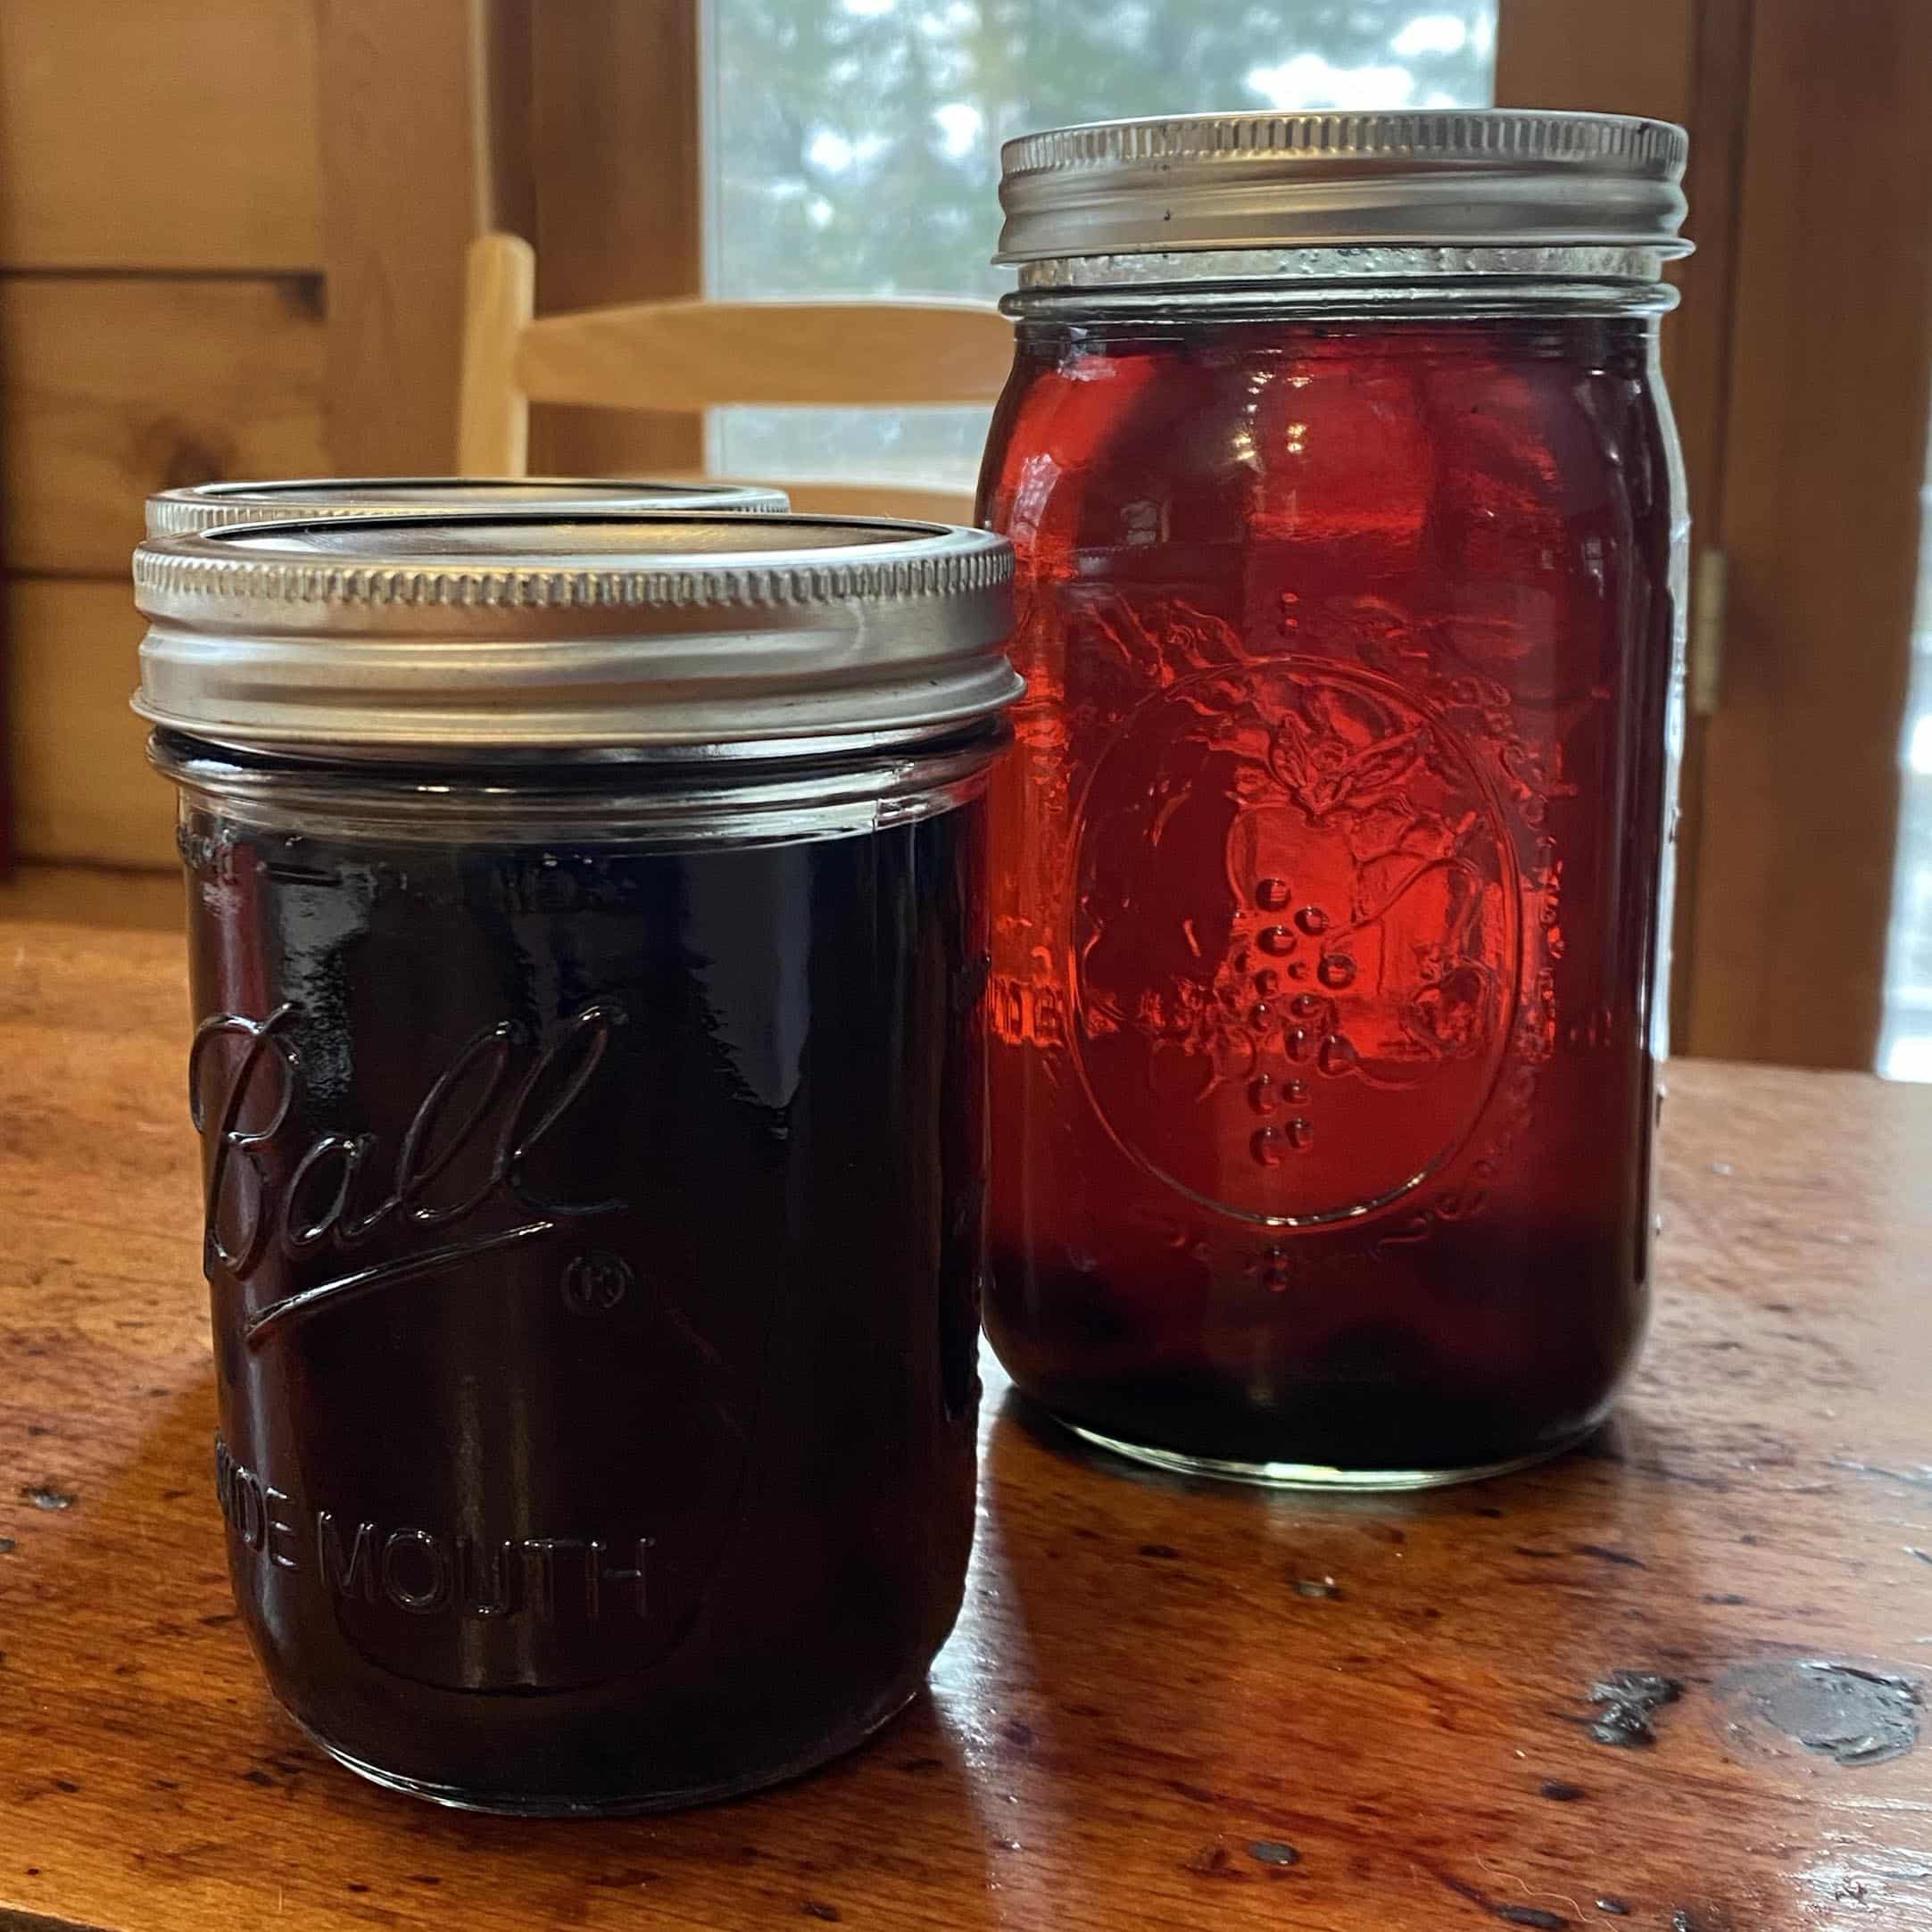
There is a lot of information out there about how to finish your maple syrup. To get crystal clear syrup in a fancy bottle like what’s shown in the image above, you’ll need some special equipment. But for making maple syrup on a budget you don’t need much!
Maple syrup is technically maple syrup when it boils at 7°F above the boiling point of water, which is typically 219°F (the boiling point of water changes with altitude and barometric pressure; to be exact, find the temperature at which water boils at your house on the day you are making maple syrup, and add 7!). However, underdone syrup or overdone syrup is OK for home consumption. We even prefer a thinner (underdone) syrup since we like to mix it into my tea, coffee, and other drinks. It also lets our kids think they are eating more maple syrup than they are! Overdone syrup will simply be very thick or leave some rock candy in the bottom of the jar. Underdone syrup will be thin and less shelf stable. For more about finishing maple syrup for shelf stability you can go here.
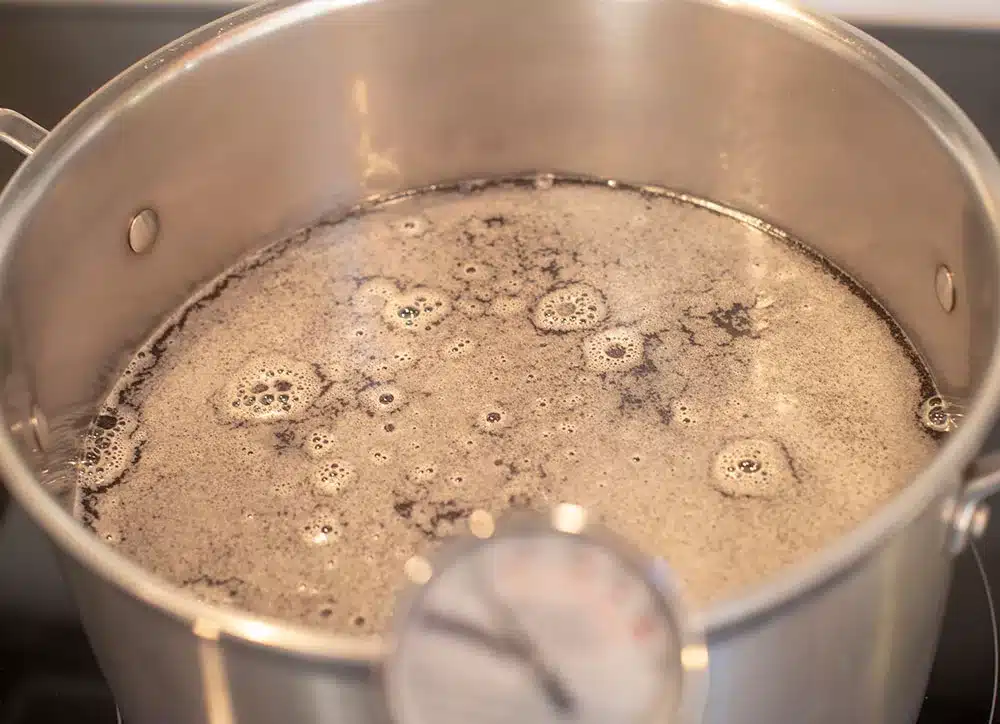
So, if you have access to a thermometer, when you get close to maple syrup outside, simply bring in your “almost” maple syrup to your stovetop, boil to 219° F, and you are done! A specialized maple syrup thermometer isn’t necessary; any kitchen thermometer that gets up to 219°F will work. But remember that maple syrup is sticky and can be hard to clean, so we wouldn’t recommend using a thermometer that is intricate, like a fancy smoking thermometer.
If you don’t have access to a thermometer, you can still make maple syrup! There’s an old jam-making trick that we sometimes use when we don’t have our thermometer handy. You can put a small plate in the freezer until cold. When you want to check to see if your maple syrup is done enough, you put a bit of syrup on the cold plate. When the drip looks and acts like syrup on the cold plate you are done!
Storing Your Maple Syrup
Once you’re happy with your maple syrup, it’s time to store it! If you only made a small amount, you can store it in any container in the fridge! If you made enough to store in the pantry, you have a few options.
You can store it in fancy bottles if you want to spend some money there. Or you can use some canning jars, with fresh lids. Many of us have canning jars around the house, and fresh lids are inexpensive at hardware and grocery stores. Either way, unless you plan to refrigerate, follow steps for safe shelf storage.
Do I need to filter my syrup?
No! You can filter your syrup with special maple syrup filters if you’d like. However, there isn’t anything in unfiltered syrup that will hurt you. You will probably find that some “sugar sand” settles to the bottom of bottles of unfiltered syrup. These are concentrated minerals and such from the boil and won’t hurt you.
So what do I need to buy?
So, what exactly do you need to buy to make maple syrup on a very small budget? If you are a handy person, homesteader, gardener, or other DIY type, you may have some of the things you need already in your home. You may already have a drill and drill bit, some food-safe gallon jugs, some canning jars, and a stock pot. The only things you have to buy to make maple syrup are fuel, and the plastic spiles and drop lines to get the sap from the tree to the storage container; we can ship 10 to your door for $21!
What if I have a little more room in my budget?
If you are a romantic: aluminum spiles and buckets give you a wonderful, beautiful way to spend time in your woods in early spring.
Or, if you are a gifter: specialty bottles and maple syrup filters will allow you to get crystal clear maple syrup that’s impressive to gift to friends and family!
If you are short on time during the week: 5-gallon buckets with drop lines will make it so that you don’t have to collect the sap every day. They also work to store your sap until you’re ready to boil!
Or, if you want to increase your efficiency: Having an evaporator and/or a baffled pan will increase your efficiency when making maple syrup. Those will cost somewhere between $300 – $1500 depending on what you are looking to improve. We sell DIY kits to make your own firebox with a baffled evaporator pan to increase your efficiency while keeping prices low enough for people to up their sugaring game. Or, if you want something that comes pre-built, the Sapling Evaporator turns into a wood-fired grill, smoker, and pizza oven in the summertime!
Finally, if you are a techie: The Sugar Cube ZB™ reverse osmosis system is the world’s smallest reverse osmosis system for making maple syrup. Using this little machine will cut your boiling time in half, and its unique UV filter allows for a longer storage time for your sap!
More on How to Make Maple Syrup
Ready for the next steps and to up your game? Check out our other How To Make Maple Syrup blogs:
- How to Tap a Maple Tree
- How to Collect Maple Sap
- How to Store Maple Sap
- How to make Maple Syrup
- How to Filter Homemade Maple Syrup
- How to Finish and Store Homemade Maple Syrup
- How to Make Maple Cream
- How to Make Maple Candy
- How to Make Maple Sugar

