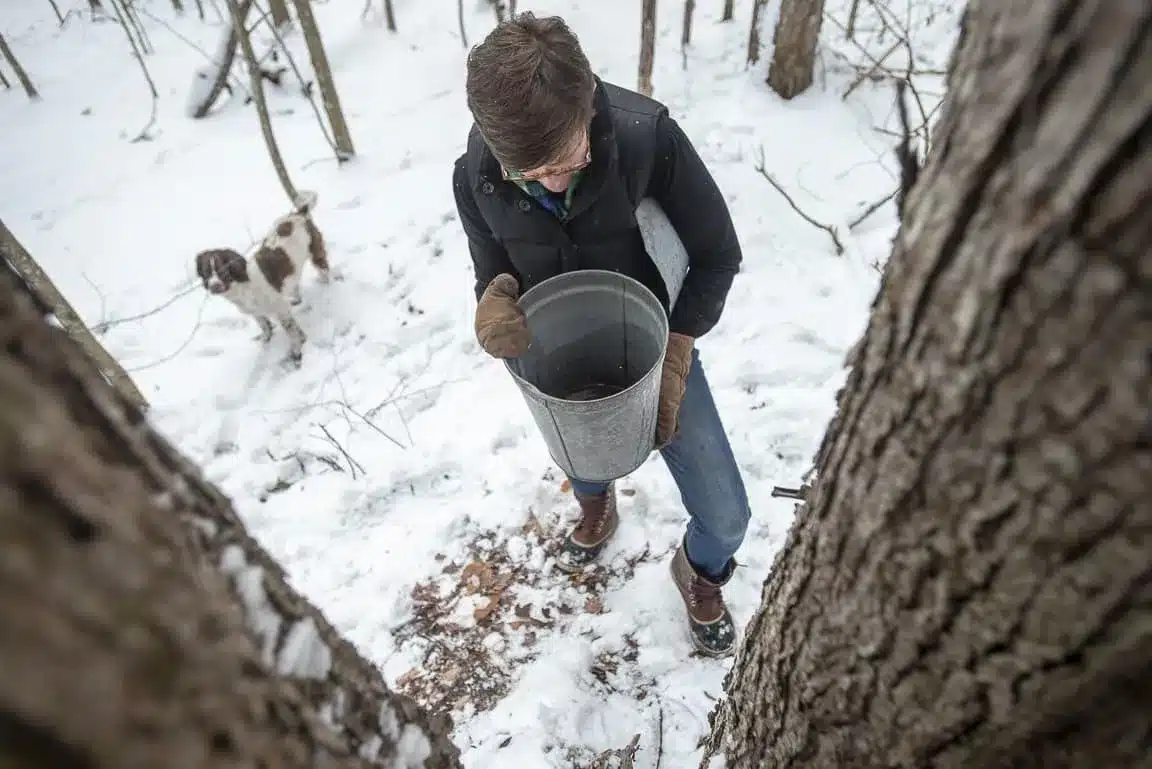
You’ve decided to make maple syrup this season. You’ve tapped your trees, and the sap is running, and your buckets are filling up! Time for maple sap collection and storing your sap in preparation for your first boil. Tips and tricks on collecting and storing sap for the DIY maple syrup maker ahoy!
The weather is just right – freezing nights and thawing days – and you’ve been checking your buckets dutifully. One day, your small sugar stand rings with the plink-plank-plunk of sap dripping from your maple trees into your buckets. It’s time to collect your maple sap in preparation for your first boil! Before you get started, here are some things we’ve learned in our years of DIY maple syrup making.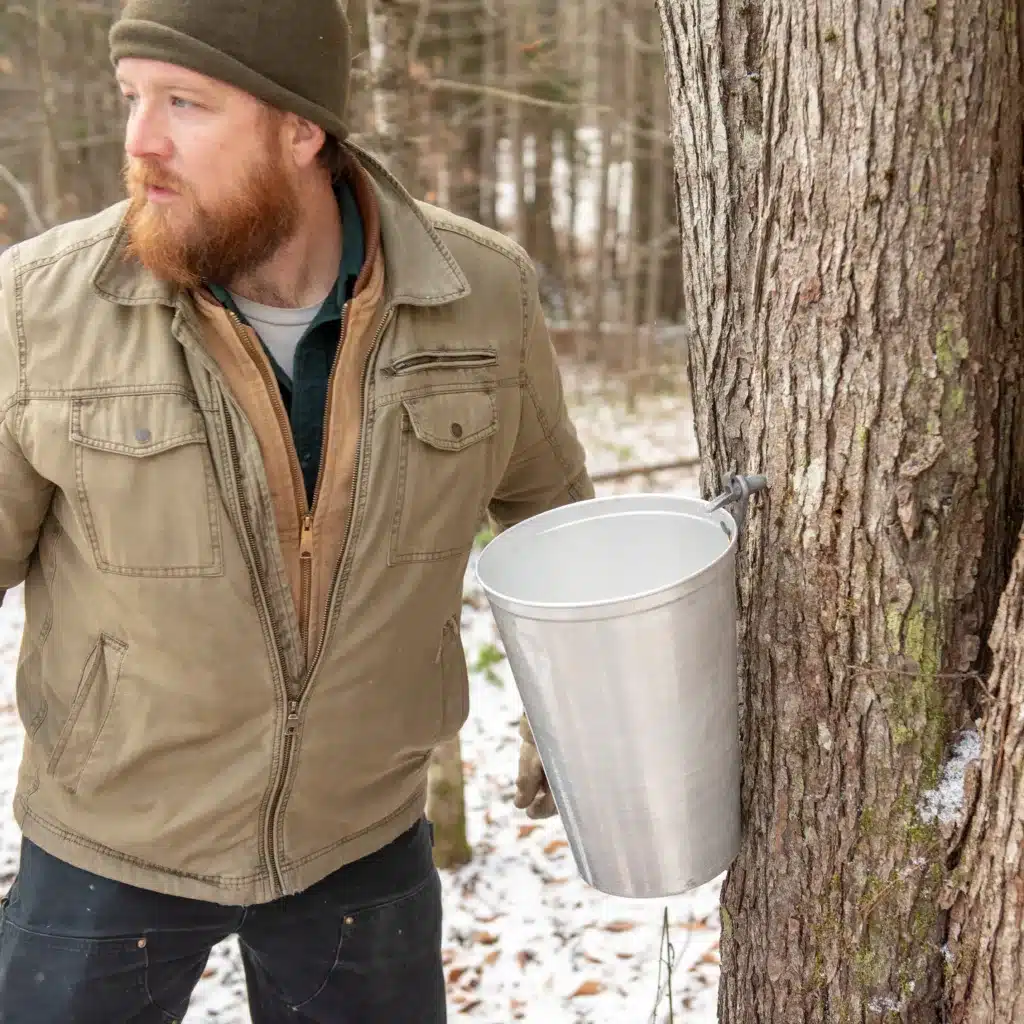
First of all, do not be put off by sugar makers that insist that sap MUST be boiled off immediately upon coming out of the tree.
In big, commercial operations, this is, in fact, the practice, and may be perfectly true in that context. It’s also a truism of the wise-old-saying variety here in New England. However, having had thousands of conversations with DIY maple syrup makers, we can say with great confidence that this is NOT common practice among us backyard, homestead, hobby farm, smallest of small-scale people. Instead, we collect maple sap daily, and store it in food-safe containers in a naturally occurring refrigerator.
What’s a “naturally occurring refrigerator,” you ask? In our climate, here in central Vermont, snow banks on the north side of a building work great. In other states, where snow cover is not guaranteed, people use shallow streams to keep their sap storage containers cool. Cold spaces in garages and barns can work well in any climate; think root-cellar. Our experience has been that sap is safe for a week to ten days by such methods with absolutely no adverse effects at all!
Having said that, daily maple sap collection is still a good idea!
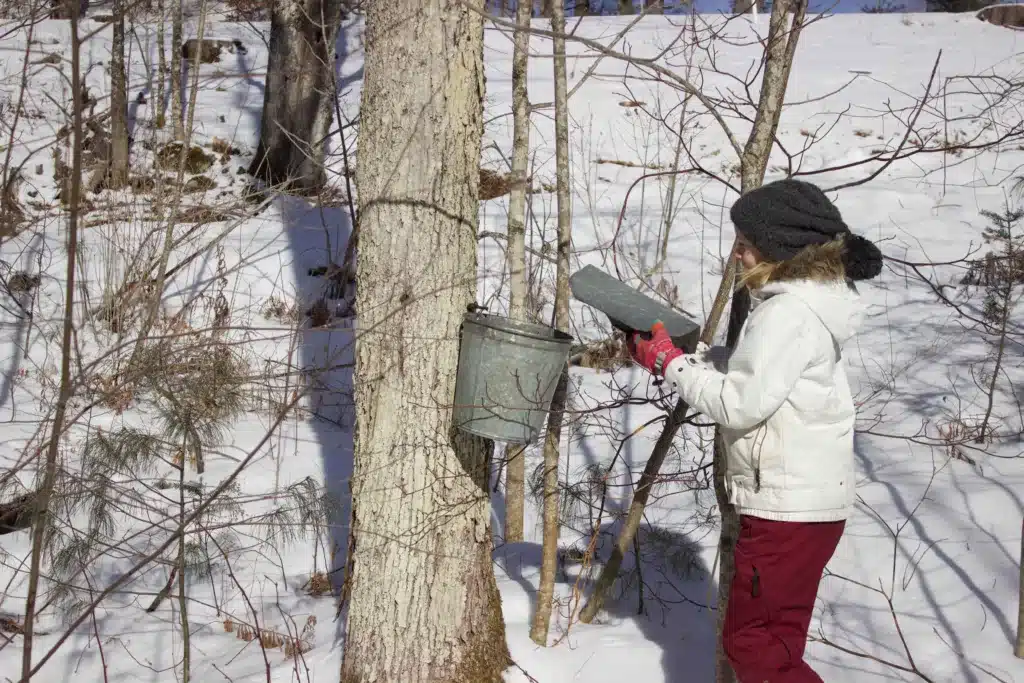 In order to keep your sap cool and fresh, however, you should collect sap every day and get it into refrigerated storage. This will ensure that it’s not sitting at elevated temperatures (for example, in a metal bucket in the sun) for extended periods of time. So pick a time that works for you, and make it a part of your daily schedule to check and empty your buckets. Your mind and body will thank you for it!
If you prefer collecting your maple sap in the morning, you may find some ice in your buckets; feel free to chuck it!
Do not fear, this ice has little to no sugar content. You will actually give yourself a head-start by ridding yourself of it tree-side. In fact, Native Americans – the original backyard maple sugar makers – used this method to speed up the process. So it is officially legit!
You may also find twigs and bugs in your sap; use cheesecloth or the equivalent to filter your sap at the point of collection.
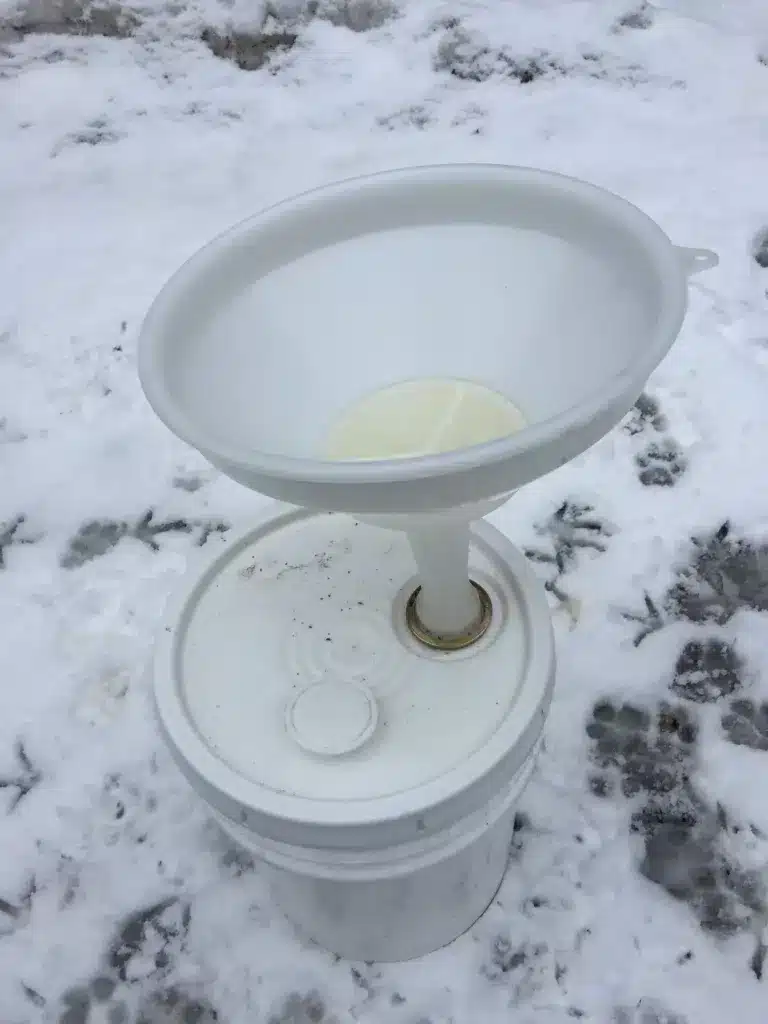 It may seem gross, but do not worry. You are going to boil this sap for a very long time. It, and you, will lose the memory of those bugs by the time that syrup hits your pancakes!
When collecting maple sap, do not hesitate to mix saps from different maple trees.
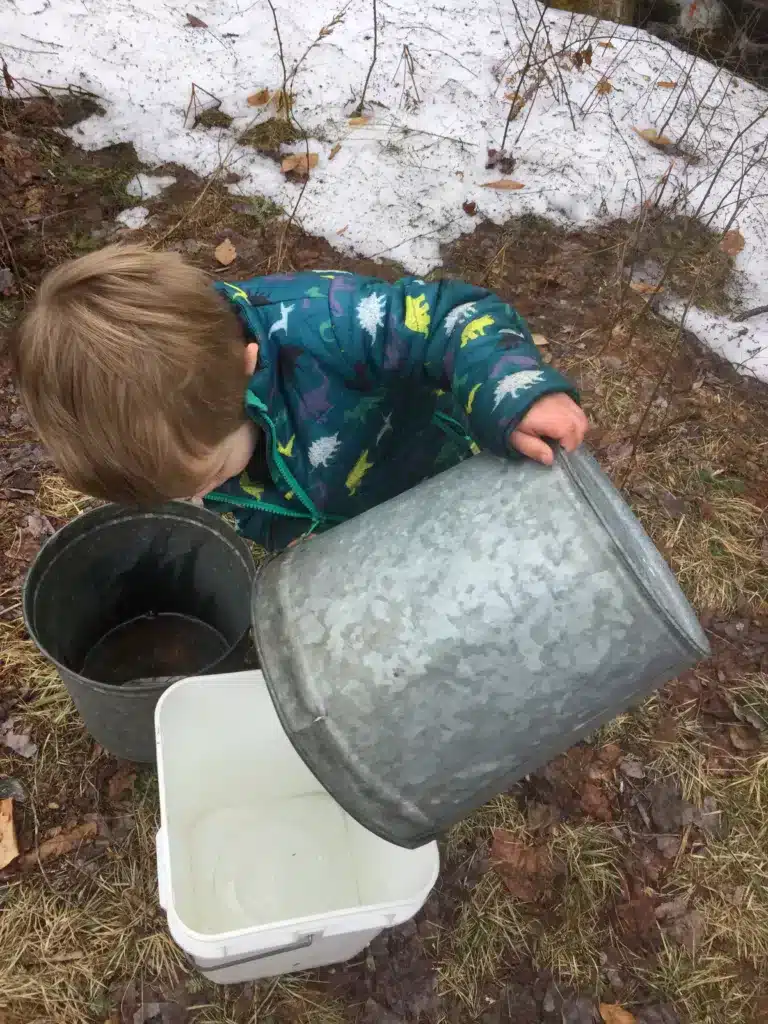
Sugarmakers, both large and small, do this! Many of us DIY maple syrup makers tap red maples in addition to sugar maples. And any maple can be tapped to make syrup. Since it all tastes the same, there’s no reason to separate saps. (In fact, some of our customers mix maple and black walnut sap and make a hybrid syrup! There are many, many syruping traditions out there!)
There are several storage container options available; the important thing is to choose something that has been manufactured for food storage.
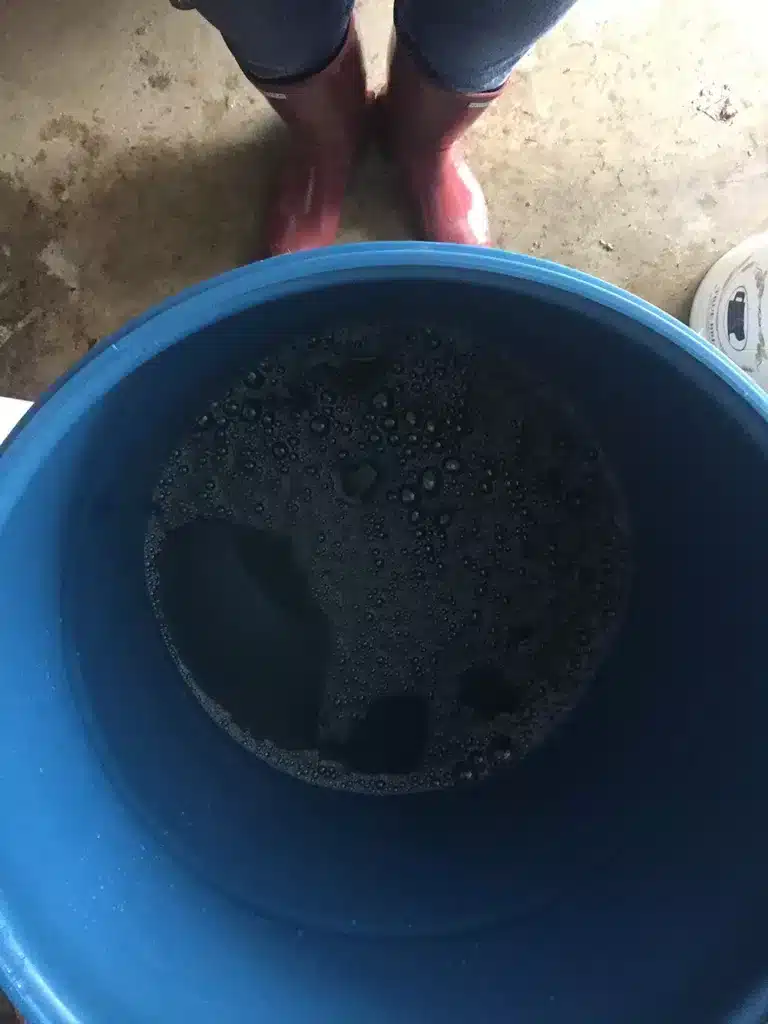 After collecting your maple sap, you’ll need a container to store it until you’re ready to boil. Food-safe, polyethylene drums are widely available. This is what we use; two 55 gallon drums are sufficient for our 50-tap hobby. There are also food-safe liquid totes out there that are often put in use for sap storage. These are large capacity; purchasing one of these is likely to feel like overkill, but also give you room to grow if you plan to expand your operation. Online forums like Craigslist and Maple Trader are great places to check for these kinds of sap storage containers.
Thinking smaller than 25 taps? Food-safe storage containers come in as small as 2 or 5 gallon! We offer sets of 5-Gallon buckets. A local restaurant or other food vendor may be willing to give or sell you containers that would otherwise be thrown away or recycled. Several of these may be just what you need. If you have 2 gallons of storage per tap, that should be plenty. Stay away from garbage cans and run-of-the mill 5 gallon buckets and anything else not sold for food or as food safe, and you’re good to go!
Enjoy your Hobby!
Now that you are all set to collect your maple sap, enjoy the process. There are loads of reasons being in your sugar woods is good for your health. Take some time to see, hear, and smell the sounds of spring. Your body and mind will thank you for it!
Happy sugaring, from our family to yours!
FOR MORE INFORMATION ON MAKING YOUR OWN, HOMEMADE MAPLE SYRUP CHECK OUT OUR OTHER HELPFUL HOW-TO BLOGS:
How to Filter Homemade Maple Syrup
How to Store Your Homemade Maple Syrup
A note on galvanized sap buckets: We’ve stopped using galvanized buckets since these images were taken. Galvanized buckets may contain lead, which may leach into your sap and be hazardous to your health

