You’ve tapped your trees, collected your sap, boiled it off, and now it’s time to finish your homemade maple syrup. Here’s how!
Making Maple Syrup is Simple
Making maple syrup is a simple process that involves removing most of the water from maple sap. This can happens in many different ways, but usually includes boiling your sap in a pan over a wood fire outside.
Finishing Your Maple Syrup Inside the House
When boiling your sap over a wood fire, temperature can be tricky to regulate. While we don’t recommend making your maple syrup entirely indoors, we do recommend finishing on a heat source that you have a bit more control over. If you’d like to finish outside, a turkey frier or propane burner will do the job!
We prefer to finish our maple syrup inside the house on the stovetop. It’s important not to do all of your boiling inside. Boiling inside can damage your walls, kitchen appliances, and much more. Finishing your maple syrup inside (just boiling the last bit) is no big deal. It’s similar to boiling pasta in terms of what sort of steam you’ll make inside your home.
Another bonus of finishing inside is that you can have your filters and bottles all ready to go. Everything you need is within reach. And after many hours of being outside and boiling, it’s a nice treat to warm up inside while you finish.
When is Maple Syrup Done?
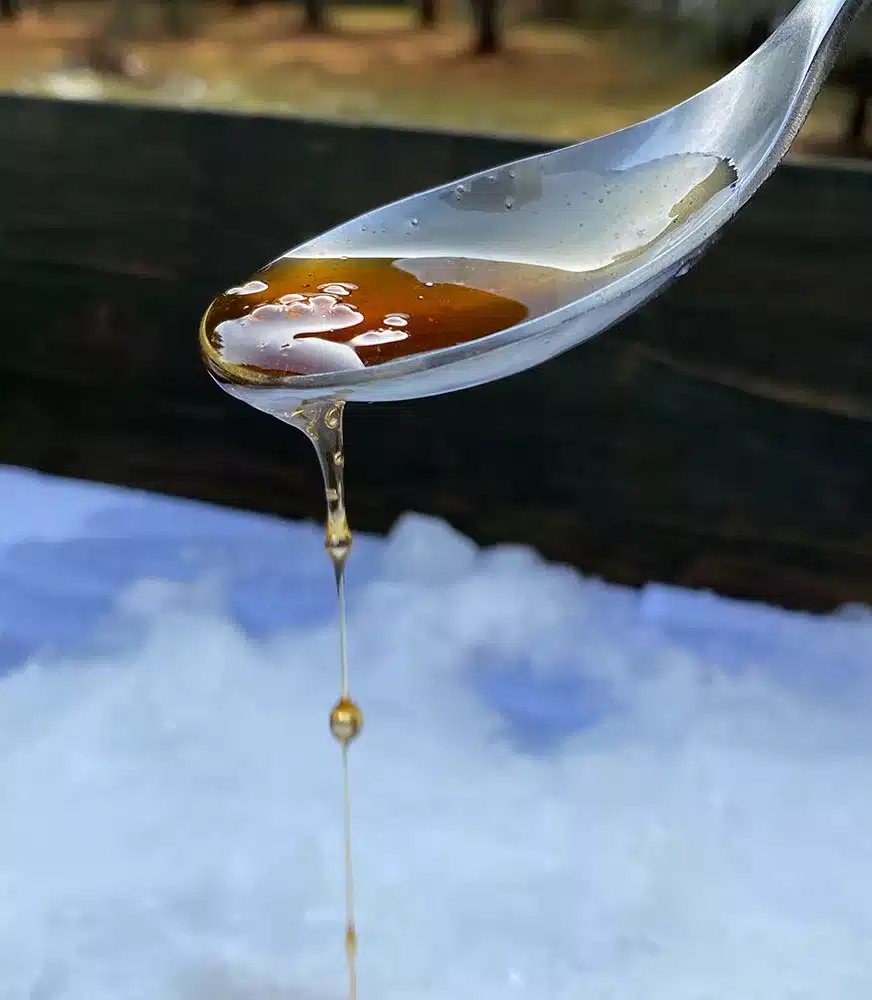
When you are boiling for hours outside, there are a few tried-and-true ways for you to know it’s time to get your syrup off the wood heat. For an analog test, drizzle a bit of your boil on a cold plate and see if it acts like syrup. Or dunk a spatula in your syrup and see if it comes off in a sheet (syrup) or drops (not yet). When you get close, take it off the wood heat and move to a heat source that you have more control over: propane burner or kitchen stove.
Once your maple syrup is on a more easily controlled heat source, the first step is to bring it back to a boil.
Boil Over!
A note of caution: often, when maple sap is almost syrup, it likes to get foamy. And while we’ve made plenty of maple syrup in our day, we will admit that we have had our fair share of boil overs as well. These are always so disappointing because we’ve only looked away for a second, and its a real pain to clean up.
Here, we take a page out of big sugarmakers book. In the old days, sugar makers tied a piece of fat above the boil, and as the steam heats the fat, the fat drips into the boil. So to prevent boil overs, we use a bit of fat to calm the foam.
To battle the boil over, there are a few things you can do. We use a bit of flavorless oil on a spoon to keep the foam at bay. You can use butter, but keep in mind that the end product will no longer be vegan. Sometimes we find ourselves in a pinch or under a time crunch, and reach for whatever fat is nearby. We’ve had success with olive oil, canola oil, coconut oil, and butter.
The Temperature of Maple Syrup
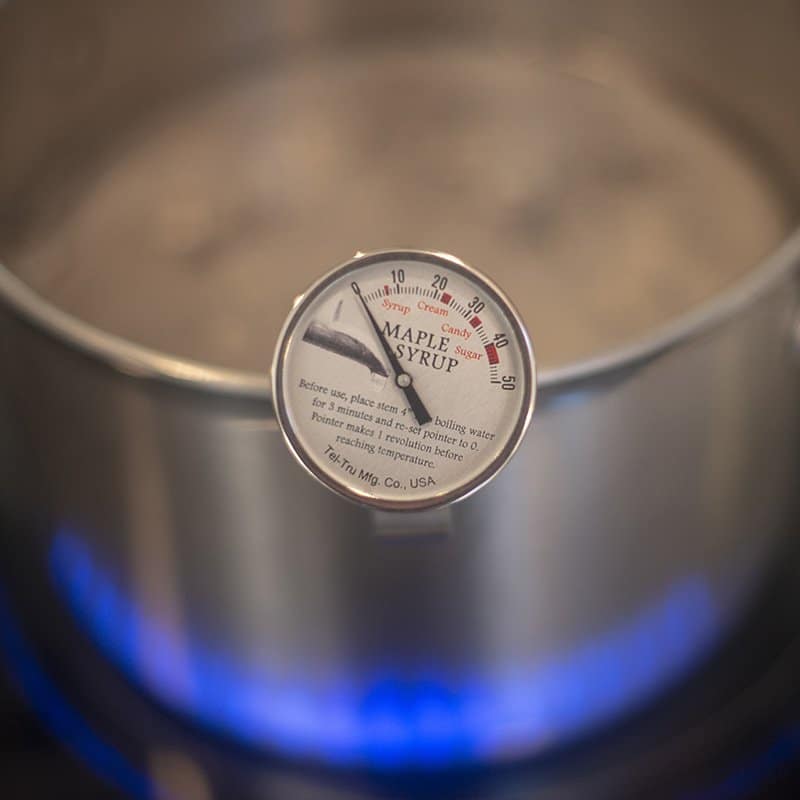
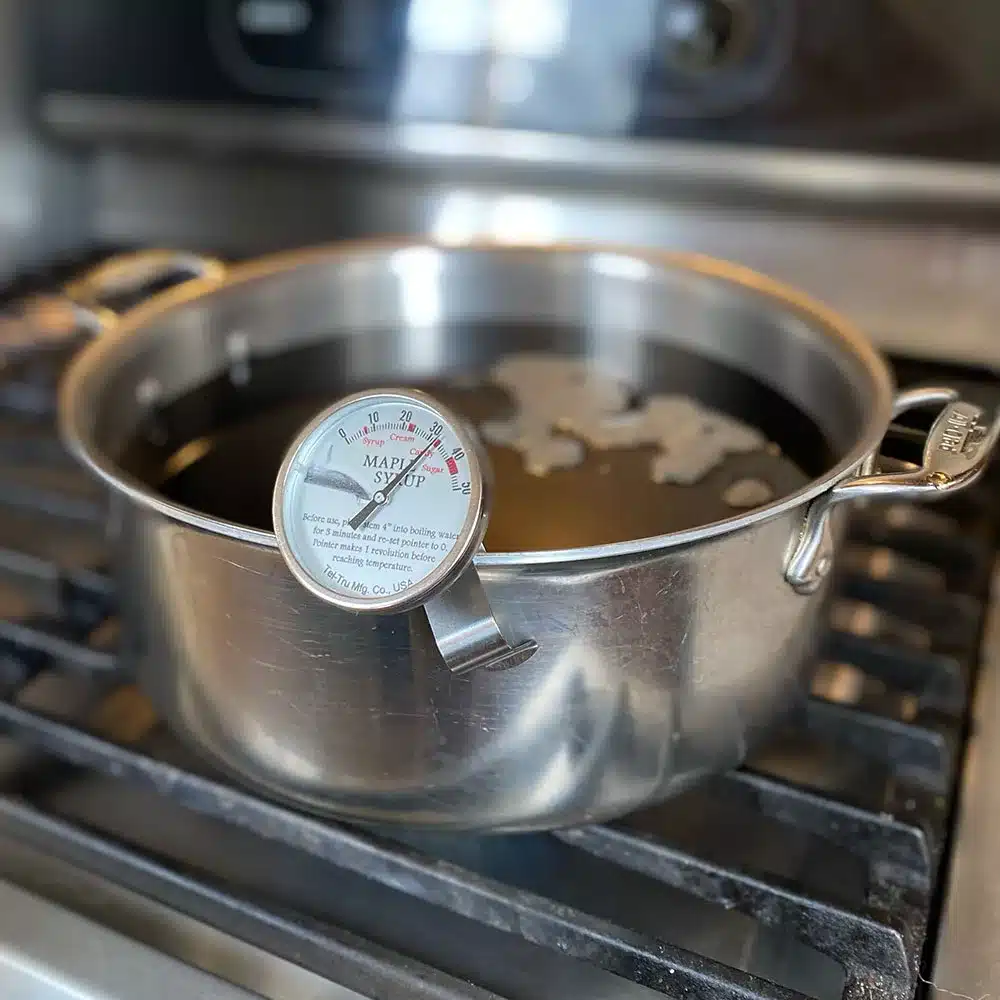
At what temperature is maple syrup finished? Typically, maple syrup is finished when the syrup reaches 219°F. The long answer is that maple syrup is finished at 7°F above boiling water. In most places, water will boil at 212°F, but sometimes this number is different based on elevation and other environmental factors. So, to be more accurate, measure what temperature water boils at in your kitchen or on your propane burner, and add 7. At that temperature, your maple sap will officially be maple syrup.
An easy way to get the temperature of your sap/syrup mixture is to use a maple syrup thermometer or a candy thermometer. We have never had much luck with our own cheap candy thermometer, so we recommend a maple syrup finishing thermometer for measuring syrup. Some of these will have you set the temperature of boiling water first to ensure accuracy when measuring the temperature of syrup
The Brix of Maple Syrup
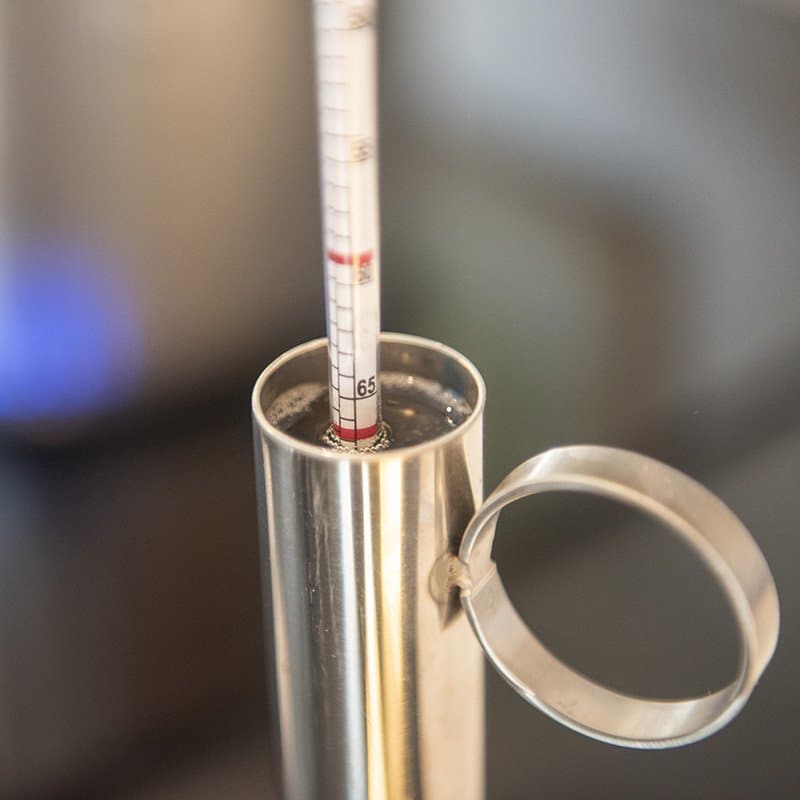
Brix is the measure of dissolved solids (sugar) in a solution (syrup). It is how professional sugar makers ensure they have reached syrup. For professionals in Vermont, a measurement of 66.9° to 68.9° Brix means maple syrup. Surprisingly, there are different regulations for different states.
You can check to see if you have achieved professional precision by taking a brix reading with a syrup hydrometer. Simply fill the hydrometer cup with your maple syrup to within an inch or two of the top and gently drop the densimeter into the cup. The densimeter will bob up and down for a bit, but when it finally settles, you’ll be able to take a reading of your brix.
Filtering Your Maple Syrup
Not everyone filters their homemade maple syrup. If you are making for home consumption and don’t mind finding sugar sand (concentrated minerals) at the bottom of your jars, you can skip this step! If you intend to gift syrup in pretty bottles, are a perfectionist, or are otherwise inclined to filter, having the right supplies helps. If you intend to filter and purchase nothing else your first time around, get yourself a syrup filter and two prefilters. Take it from us: this will be a giant improvement on using many other homemade methods. Coffee filters are slower than slow. Cheesecloth lets everything through. We’ve even rigged up something using dish towels and our applesauce maker (don’t ask!) resulting in mess, trauma, and disaster.
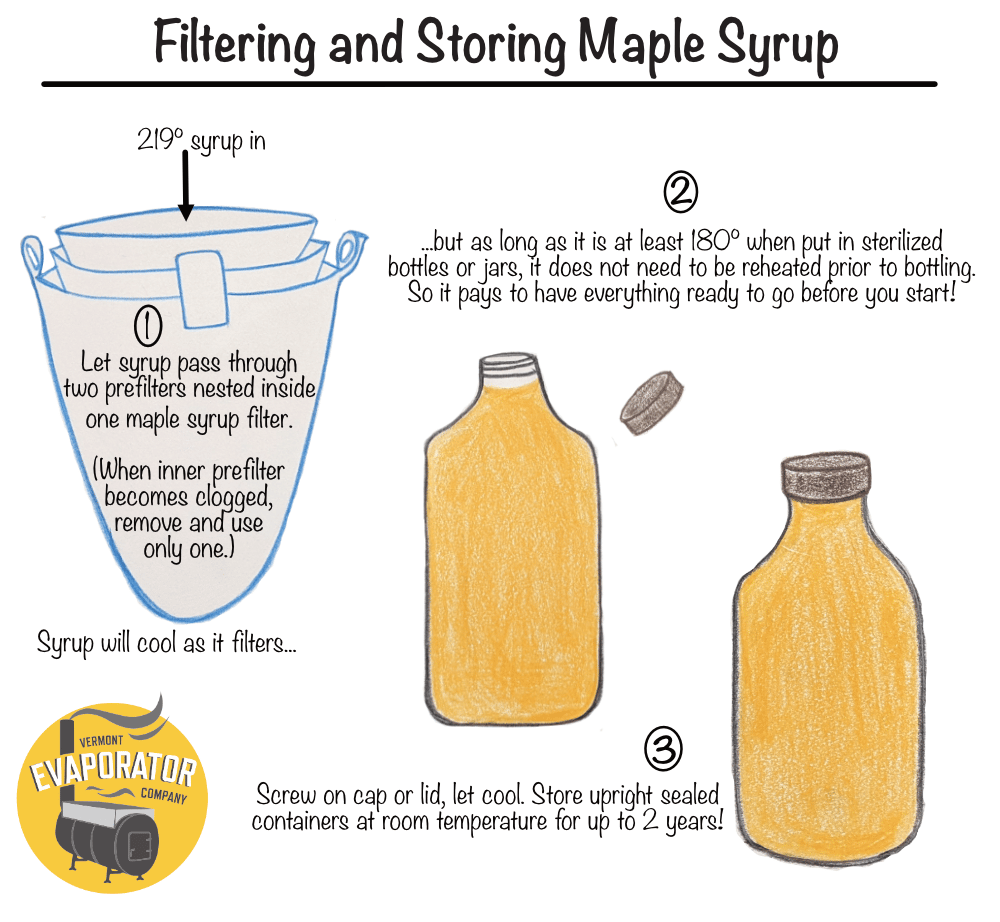
To filter, layer the two prefilters inside the filter and place them in a food-safe receptacle. We recommend a stock pot, brew pot, or pitcher. Pour your syrup through the layers, taking the first prefilter out and pouring into the next if it gets hopelessly gunked up. (Don’t throw them away; prefilters can be rinsed out and used multiple times, as can filters.) The hotter the syrup is going into the filters, the faster this goes.
Bottling Your Maple Syrup
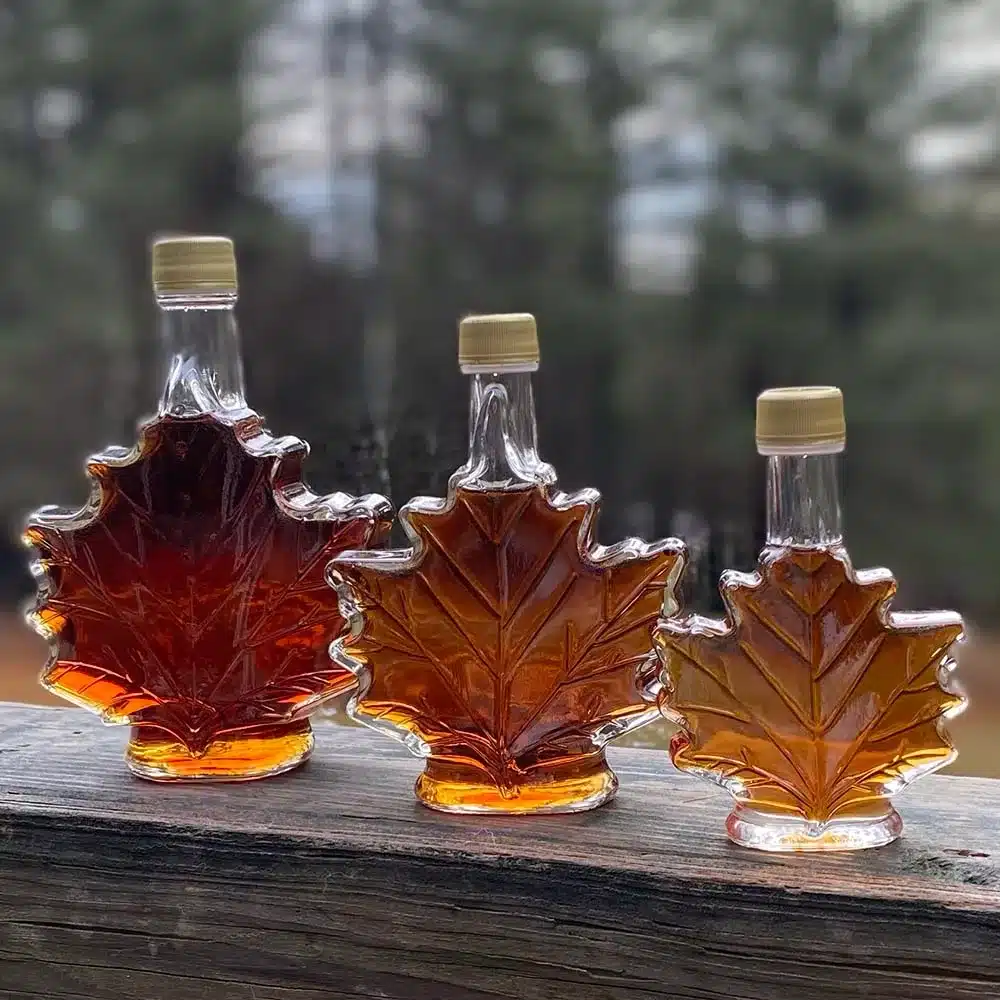
Have your jars clean and at the ready, just as you would if canning. There are plenty of fancier options out there, but glass canning jars with new lids work fine. No matter what you choose, make sure that your syrup is at least 180 degrees going into the jar. If it isn’t, heat it up to between 180 and 200 before canning. Once the jar or bottle is full (with 1/4 inch headroom) and the lid is secure, let cool and store for up to two years on the shelf. Resist the temptation to can your syrup by boiling it in a hot water bath. It is unnecessary and you may end up with intractable rock candy at the bottom of your jar.
Grading your Maple Syrup
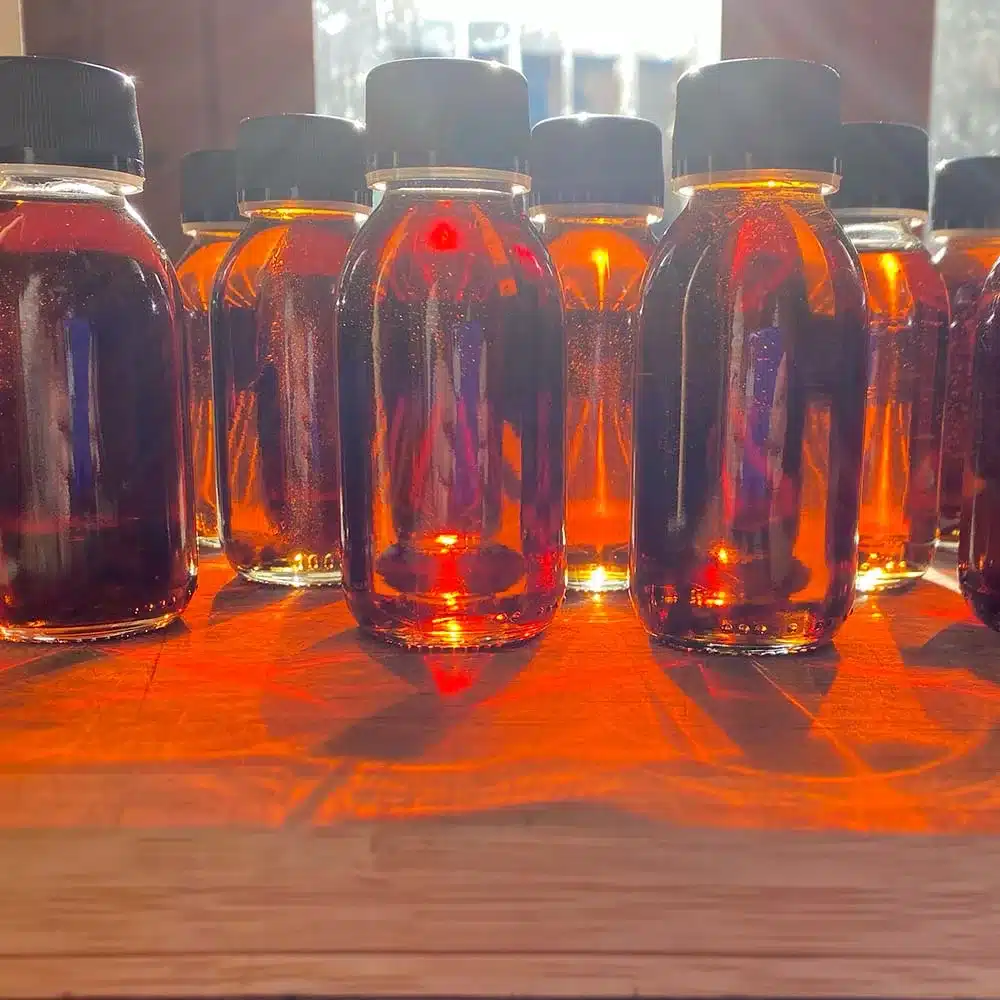
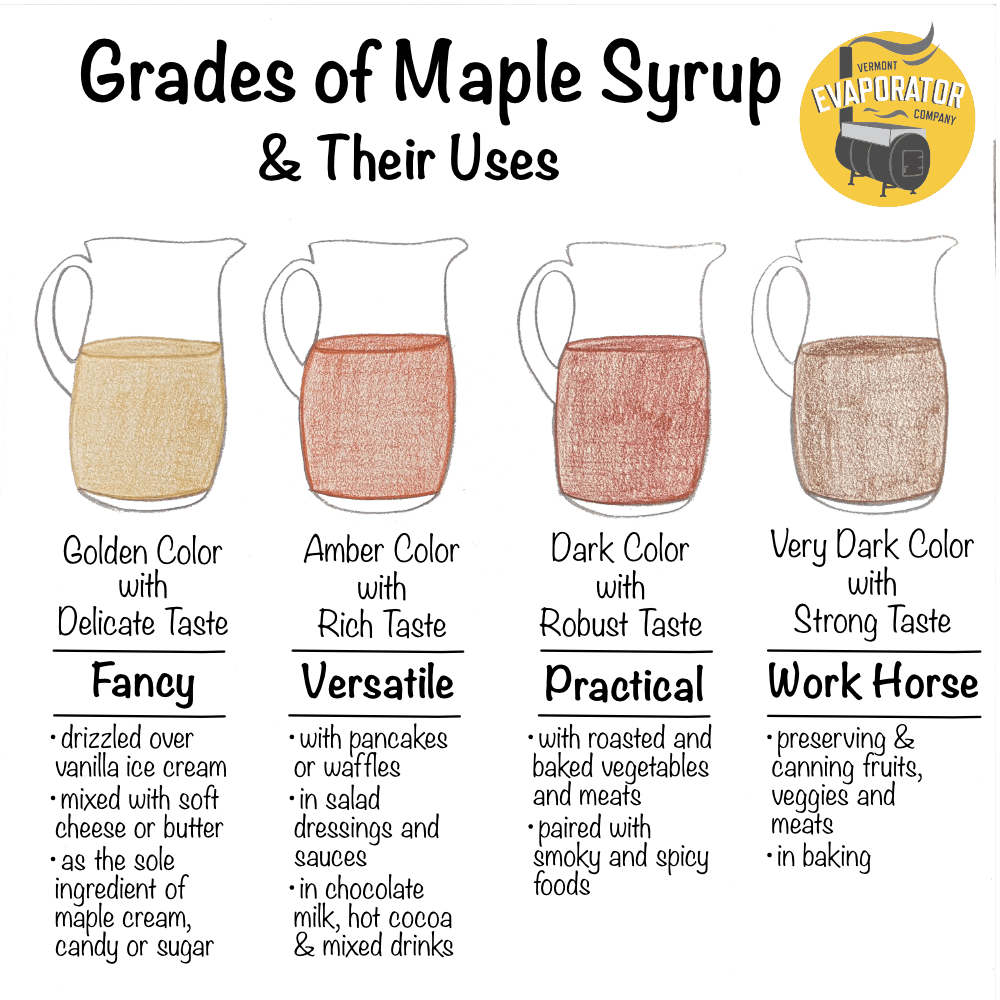
Wondering what grade of syrup you made? Impress your friends and family by using a grading kit to find out whether it’s golden, amber, dark or very dark! And know that, whatever the grade, it’ll be the most delicious syrup you’ve ever tasted.
Storing Your Maple Syrup
The answer for how long your homemade maple will last varies. The USDA says properly bottled maple syrup is good on the shelf for one year and opened and refrigerated for an additional year. Our friends over at Baird farm, who make the Vermont Organic Maple Syrup we sell with our Maple Sugar Kits say that properly bottled, the syrup can last in your pantry indefinitely, and in the fridge for 2 years.
We have yet to find a maple bottle in our pantry after 1 year. We go through a lot of maple in our house! When we gift our homemade maple, we tell our recipients that it’s good, unopened, for 2 years in a pantry.
Once opened it is important to store your maple in the fridge. If not, you run the risk of mold growing on the top of your syrup. After all the work you went through to make this “liquid gold”, make sure you get to savor every last drop.
ENJOY YOUR HOBBY!
Now that you have all the information on how to finish your maple syrup, enjoy the process. It’s easy to get overwhelmed with all the directions, but remember that we are doing this for FUN. Stay calm, enjoy the syrup, and learn some lessons.
There are loads of reasons being in your sugar woods is good for your health. Enjoy the smells of the boil, the taste of the sweet sap, and the fresh spring air. Take some time to see, hear, and smell the sounds of spring. Your body and mind will thank you for it!
Happy sugaring, from our family to yours!
FOR MORE INFORMATION ON MAKING YOUR OWN, HOMEMADE MAPLE SYRUP CHECK OUT OUR OTHER HELPFUL HOW-TO BLOGS:
A note on galvanized sap buckets: We’ve stopped using galvanized buckets since these images were taken. Galvanized buckets may contain lead, which may leach into your sap and be hazardous to your health.

