If you’ve identified your maple trees, everything else you need to know in order to make maple syrup in your backyard is here in its shortest form.
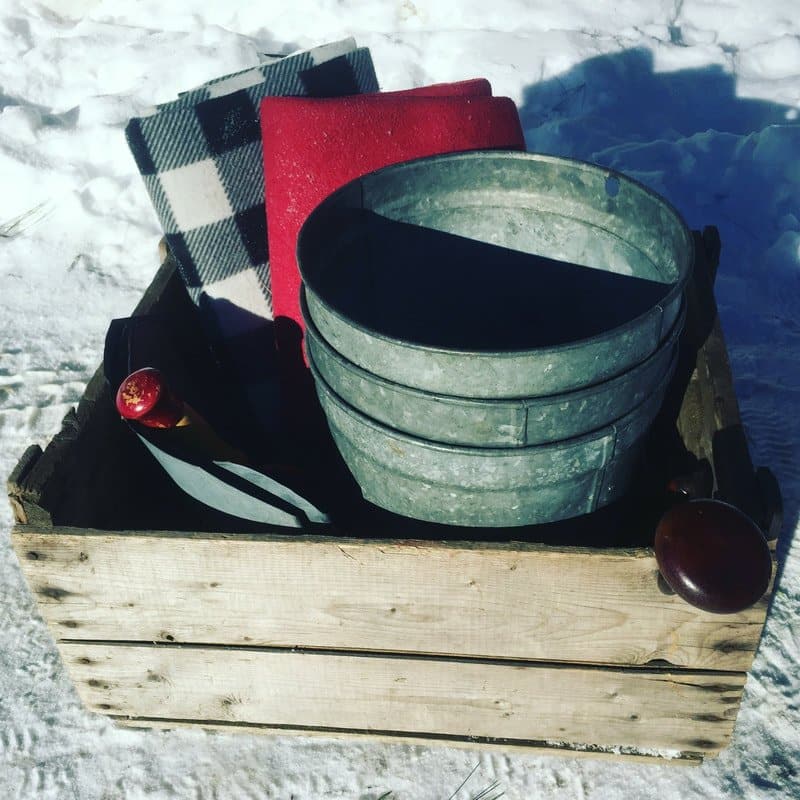
Sugaring season is drawing close. You want to start this year but you aren’t sure you have time to figure it out and get your operation in order! It’s almost February! Not to fear. Here is the shortest guide to backyard sugaring ever made. You can DO it! Step 1: Get Equipped As long as you’ve identified your maple trees (and any maple will do as long as it is at least 12 inches in diameter) all you need to do is get a hold of some simple tools and equipment and you’re ready for your first boil. The list of stuff you need is short:
- drill with 5/16 or 7/16 bit
- a hammer
- 5/16 or 7/16 spiles – also called “taps” (spouts that take sap from tree to container – they are available in both sizes)
- lidded buckets or other containers (such as cleaned plastic milk jugs attached to the spile with rope or wire)
- sap transportation and storage containers (5 gallon buckets work fine)
- cheesecloth
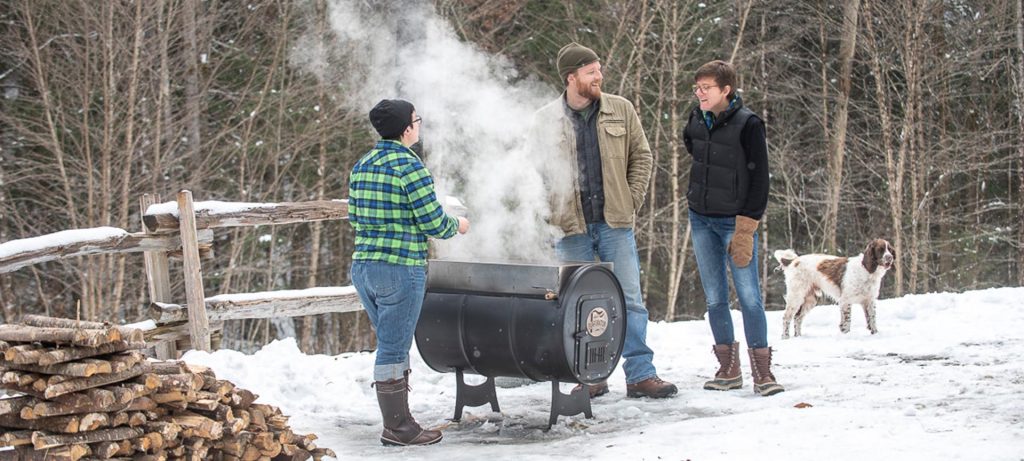
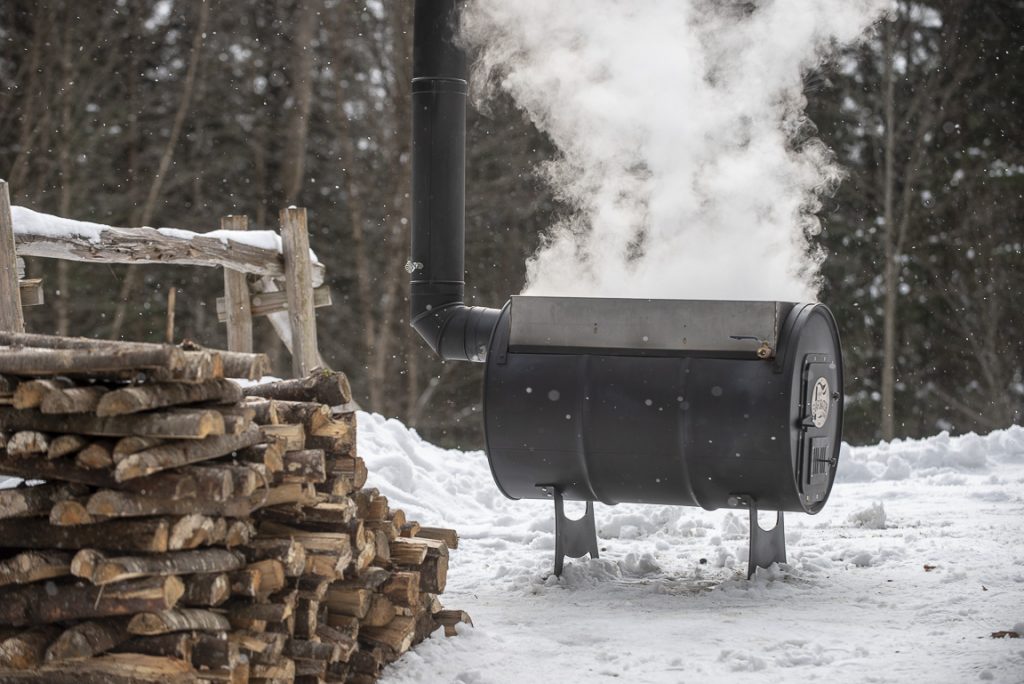
- a backyard boiler – also called “arch” – (Sapling Evaporator, Seedling Urban Evaporator, cinder-block arch with Sapling Evaporator Pan, or the like)
- fuel (propane or wood, depending on your boiler)
- candy thermometer and/or hydrometer (optional, really)
- syrup filter
- syrup storage containers
Step 2: Tap When?
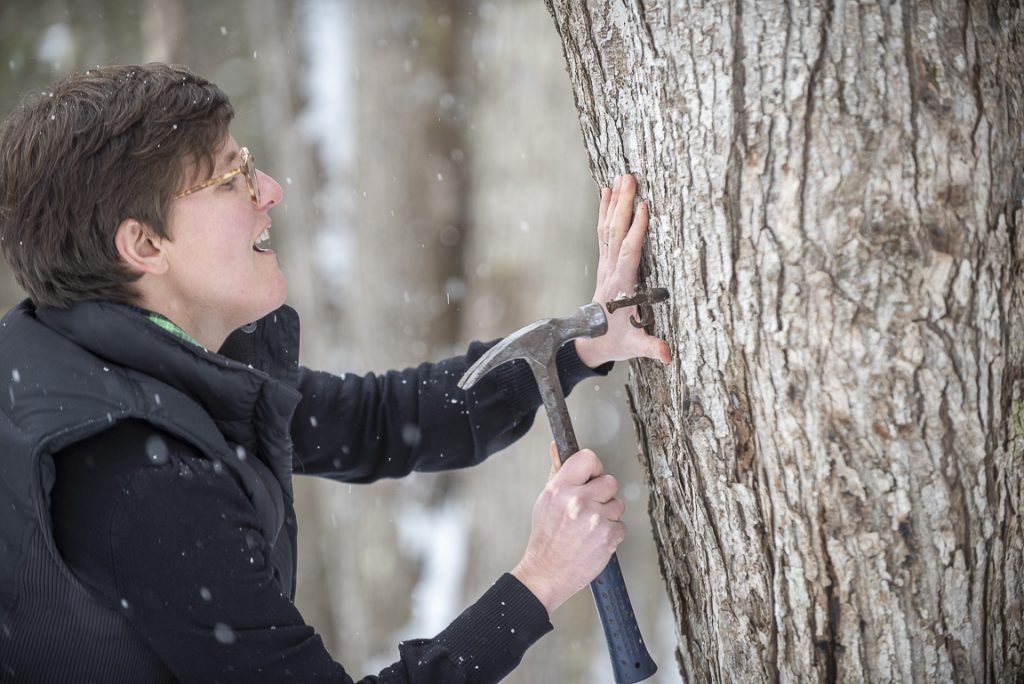
It depends on where in maple country you live and what the weather is doing. Sap runs when nighttime temperatures are freezing and daytime temperatures are not. So, right now our customers in the Southern Midwest and Mid-Atlantic – Illinois, Ohio, New Jersey and Pennsylvania – report that they are already tapping and collecting. In the Northern Midwest and in New England, however, we typically don’t tap until at least mid-February and sometimes not until March. And we’ve got customers at certain elevations in upstate New York, for example, who have to wait until April! So pay attention to what the weather is doing and what other sugar makers are doing in your area. A great resource for the latter are the forums on mapletrader, which are broken down by state. Or you could ask your local sugar maker and make a friend and ally in the process. How do you tap? Easy. Learn here.
Step 3: Collect Sap
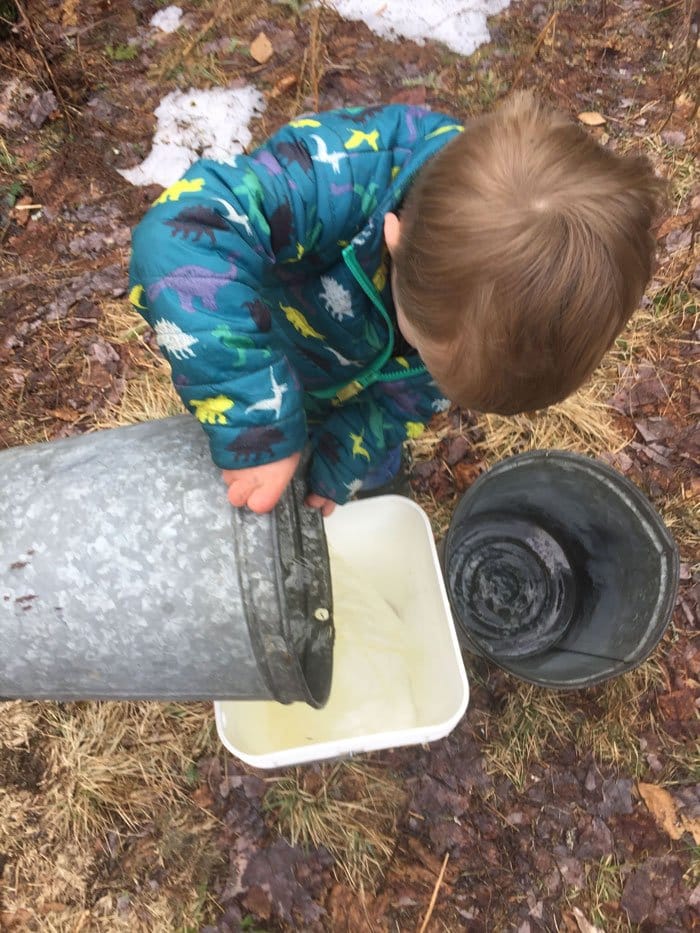
Monitor your sap containers daily so that the sap does not overflow or get to warm. When your containers are full, or when the sap is exposed to warm temperatures or direct sunlight, collect from the tree and store in snowbanks in the shade, a cool garage, or other naturally refrigerated place in 5 gallon buckets or other large food-grade container. Sap will keep for a week or so at refrigerated temperatures. It is OK for sap to freeze. In fact, some of us throw out the ice chunks on the theory that it’s just water. And it’s OK for you to mix the sap from different maple trees together. It all tastes the same. Step 4: Boil When you have time to boil, boil! This is going to take a while, so either start as early as possible in the evening and know you aren’t sleeping much that night, or, better yet, choose a day when you would be home anyway.
Exactly how this goes will depend on your arch. If you have a continuous-flow pan, like the Sapling Pan or the Seedling Pan, you will flood the pan with sap that you’ve strained through your cheesecloth, start your fire, and continuously pour sap into the entry point. And wait. You should be able to make 1 or 2 gallons of syrup in a 10-hour day with our products. If you have a series of flat pans, you will flood all pans with strained sap, start your fire, and consolidate the boil into one pan as the levels in all pans reduce, leaving pan(s) open for new sap to be processed. And wait even longer. If you have one flat pan, you will flood the pan with strained sap, start your fire, and occasionally fill the pan back up again with sap. And wait the longest of them all. Regardless of your getup, you will measure the temperature (with thermometer) or sugar content (with hydrometer) of your boil at the exit point or final boiling pan, and pour-off/dump-out syrup when it measures 219 degrees F or 66 brix. OR you can also just dip a spoon or spatula into the boil, and observe how it behaves coming off the utensil and/or on to a cold plate. Syrup is said to “apron” off a spoon, and acts like syrup as it cools on your plate. Sap doesn’t. It acts more like water in both scenarios. Step 5: Filter and Store Filter your syrup right away, pour immediately into food-safe containers, and invert the container briefly to sterilize the inside of the lid. If done quickly enough, this is all the canning process you need to keep syrup safely in a cool, dark place for two years! For more detail on safe canning, see here. Have fun and keep in touch!