OK, you know now why a continuous-flow pan beats ye olde brew pot for making maple syrup in your backyard. But how exactly does one use the first-ever grill-top continuous-flow pan? It’s SO easy that assembly, setup and operation can be covered in 1,000 words or less!
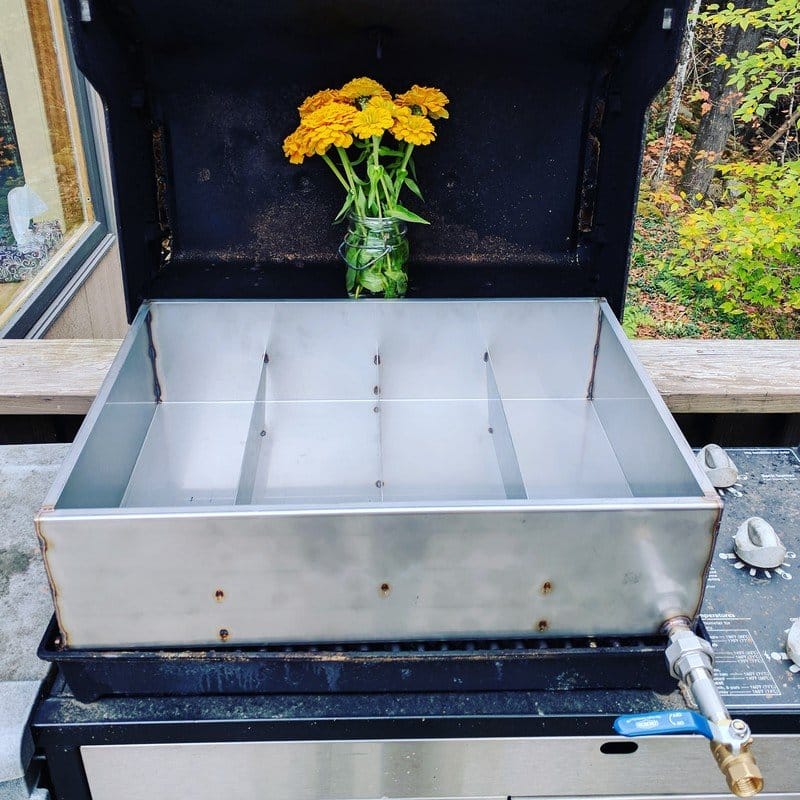
This is a Seedling Urban Evaporator!
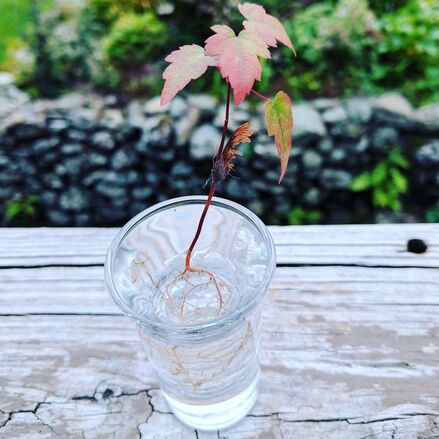
This is a maple seedling in a shot glass.
First, assemble the Seedling!
The Seedling comes in a nice little box. Remove all parts from inside the box. Inside the box, you will have:
- one (1) evaporating pan with threaded exit;
- one (1) coupling (short and threaded inside);
- one (1) pipe nipple (long and threaded outside);
- one (1) ball valve;
- a smidge of pipe tape.
- Loosely screw the ball valve onto the exit of the evaporator pan. Set theSeedling on your (cold!) grill. Open and close the valve as if you were pouring off syrup into a measuring cup or the like. Decide if you would prefer more clearance from the grill for pouring-off than the ball valve alone gives you (this may vary based on the design of your grill, e.g., if your operating controls are on the front or not, etc.).
- If you are happy with the length of the pour-off, remove the ball valve, and, starting one thread back from the end, wrap a bit of pipe tape around the exit on the evaporating pan. Screw the ball valve back onto the exit.
- If you would prefer a longer pour-off situation, remove the ball valve, and, starting one thread back from the end, wrap a bit of pipe tape around the exit on the evaporating pan. Screw the coupling onto the exit. Apply pipe tape to one end of the pipe nipple using the same technique. Screw the pipe nipple into the coupling Apply pipe tape to the other end of the pipe nipple. Screw the ball valve onto the pipe nipple.
Second, prepare the Seedling for use!
You will need:
- shims
- a two- or four-foot level
- water (non-chlorinated, if you have it)
- baking soda
- Using shims and a level, level your grill front to back and side to side.
- Place the Seedling on your grill so that the exit pipe hangs over the front of the grill, facing you. Using your level, confirm that your pan is level front to back and side to side.
- Before you boil your first sap, you’ll want to remove any residual materials from your Seedling. To do that, prepare a solution of 5 gallons of water combined with 1 tablespoon of baking soda; fill the pan to 2 or 3 inches full with the solution. Then start your grill. Boil the solution for approximately 30 minutes, making sure the solution in the pan remains at approximately the 2-or 3-inch level by adding more solution, as needed.
- Check your equipment: Check to see that there are no leaks at the fittings in the pan, check to see that the pan is boiling evenly, and open the valve to ensure that it works properly.
- Allow the unit to cool and then drain the pan. Rinse the pan thoroughly with clean water and dry.
Now, operate the Seedling!
CAUTION: NEVER heat the Seedling without liquid in it. Otherwise, the operation of the unit is relatively simple!
- Add 2 inches of sap in the pan. This is just over 3 gallons of sap.
- Start your grill and turn all burners on high.
- Get the sap boiling. Note: depending on the distance of your propane burners to the pan, you may want to partially close your grill cover to facilitate heat capture while simultaneously letting steam escape. Also, we highly recommend that you remove any “flavor” or diffusion bars that come between the flames and the bottom of your pan. Direct heat is best.
- After the sap has boiled down to half of its volume, gradually add more sap at the front, left corner of the pan until the sap level is back up to 2 inches. (Tips: Don’t add too much new sap at one time, and try to maintain a constant boil. This will result in a more efficient process and lighter syrup. Also, you will get faster boiling if this sap is warm – try putting a pot just next to the grill to capture some of the escaping heat, or, if you have a side burner on your grill, use that to pre-heat your sap). Continue to add sap at this location gradually as needed to keep the level at 2 inches. Do this for several hours.
- There are a number of ways to tell if your syrup is “done.” The most sophisticated is to use an instrument called a syrup hydrometer to measure sugar content. Another is to measure temperature: syrup boils at about 7 degrees F above the boiling point of water (so, approximately 219 degrees F). Therefore, when the temperature of the liquid close to the exit valve measures 219 degrees F, you can draw off syrup (it will take several hours before your first draw off). The syrup should have an amber color and have the consistency of . . . syrup.
- Get a clean container and place it under the valve exit.
- Open the valve and watch your exit temperature. If your exit temperature is 219 or so, as you are drawing off, when the exit temperature drops a few degrees, stop the draw off.
- If possible, simultaneously add fresh sap at the introduction location. If not possible, add some before you draw off and some more after.
- Continue to draw off syrup until your exit temperature drops below 219°. You will likely get less than a pint of syrup per draw.
- You may also choose to draw off a bit early into another pot or pan and “finish” on the kitchen stove inside, where it may be easier to control and monitor the temperature.
- At the end of your boiling day, turn off your grill burners. You can finish it as described above, or use it the next time you boil for a faster startup. Whatever you do, cover it up or bring it inside when cool to keep it away from the critters.
Backyard sugaring? You can do it! And the Seedling can help!
Have a great week out there, from all of us at the Vermont Evaporator Company.