Wood-Fired Baking and Pizza on the Sapling
You don’t need a fancy outdoor kitchen for fancy wood-fired breads. The Sapling Everything Grill is an easy way to make wood-fired pizzas, Montreal bagels, flatbreads, rustic breads, and more. You can turn ANY grill into a bread and pizza oven by adding a pizza stone, but baking with wood makes a HUGE difference in taste.
Just like with grilling and smoking, there’s more prep and cleanup time involved in wood-fired baking than other alternatives, but the taste is worth the time if you have it.
Wood-Fired Pizza on the Sapling
Wood-fired pizza on the Sapling is totally worth the effort. It takes a bit of time to get the fire going, the oven up to temp, and get your uncooked pizza outside, but oh boy are the results worth it. The smokey flavor really enhances whatever toppings you’re putting on your pizza, and watching the pizza transform so quickly is a crowd-pleaser. The resulting delightful treat is likely to have friends and family coming back for more!
Make Pizza Dough…. and let it RISE!
To make a wood-fired pizza, you’ll have to start the pizza dough first to allow it to rise. We love this Easiest Pizza dough recipe from King Arthur Baking. We are always a sucker for something EASY and TASTY. When there are about 30 minutes left of the rising time, it’s a good idea to get your Sapling ready to go.
Get the Fire Started
Start by making a small fire in the bottom of the Sapling Everything Grill, and ensure that your Sapling Pizza Stone is set on top of your Sapling Grill Grates. Be sure to remove the Sapling Efficiency Baffle if you’ve used it as a smoker recently. To learn more about smoking on the sapling check out our blog here, or some of our favorite smoking recipes here!
Pizza Stone
Our tip for keeping your pizza stone from breaking is to make sure it gradually changes temperatures. Put it directly on the Sapling Grill Grates before you start the fire, and don’t take it off until the entire Sapling has cooled down and is safe to touch. Our Sapling Pizza Stone is going on 5 years old now and is still in one piece!
While your Sapling heats up, it’s time to get your pizza dough ready! Get it into a pizza shape. (Insert rolling pin vs hand worked pizza dough shaping argument here!) For us, it’s all about the toppings!
Assemble Your Pizza!
We like to assemble our pizza on the pizza peel we’ll use to get the pizza on the pizza stone. You can prepare your peel with flour, cornmeal (traditional), or parchment paper (easy peasy). Parchment paper can burn if exposed to temperatures higher than 450°F, but according to Americas Test Kitchen, it’s safe to use at these high temperatures, and they even recommend it!
If you don’t have a pizza peel, don’t worry! You can always use a cookie sheet turned upside down so that there isn’t a lip or edge for the pizza to catch on. You want the pizza to easily and quickly slide on and off the stone!
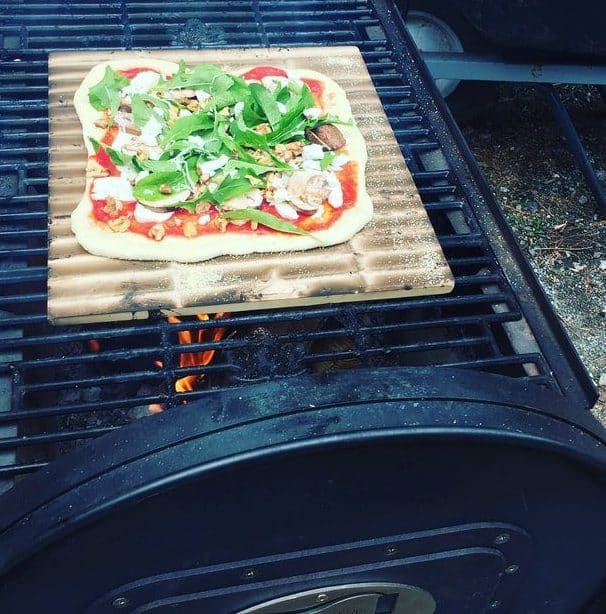
Then simply put on your favorite pizza toppings and head out to check your Sapling. Here is one of our favorite pizzas to make on the sapling, and to no one’s surprise, it has maple syrup on top!

Wood Fired Veggie Pizza with Maple and Goat Cheese: Make your favorite pizza dough and roll thin. Top with crushed tomato, fresh mozzarella, sliced baby bella mushrooms, baby arugula, and toasted walnuts. Sprinkle with goat cheese and drizzle lightly with maple syrup. Remove baffle from Sapling Smoker and ensure damper is open. Place pizza stone on grates and start fire. Cook covered at 400 degrees or hotter for 10 minutes or until done.
High Temp Pizza Oven
When cooking pizza, you want to ensure that you have a high temp oven. The idea is to cook your pizza for a short period of time. You can check the temperature of your Sapling by using a traditional oven thermometer, or an ambient air thermometer that comes with many smoking thermometers today. You want the temperature in your Sapling to be at least 400°F.
Cook Your Pizza
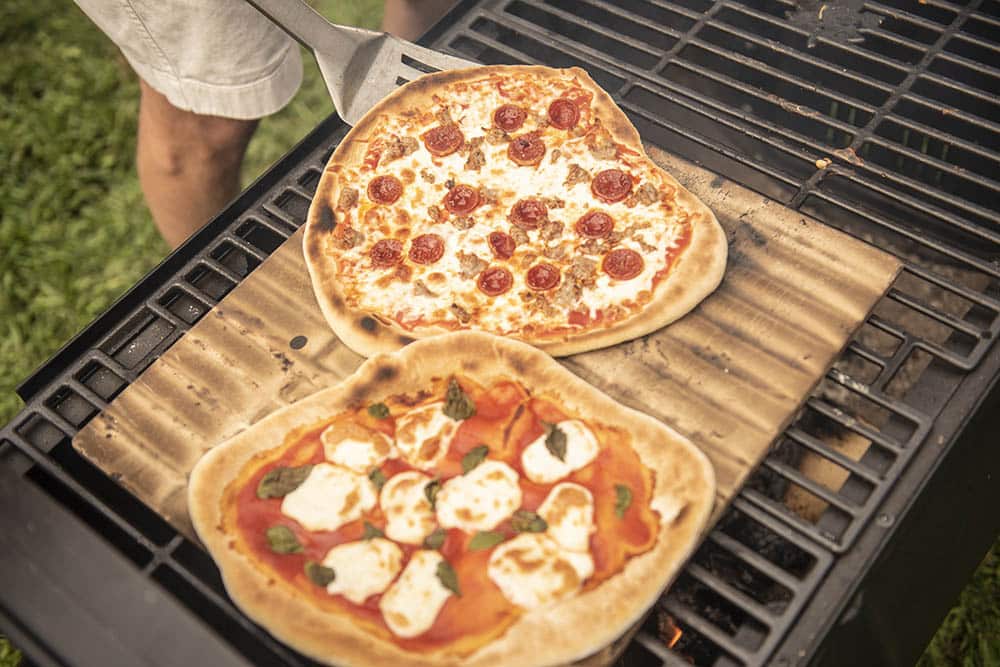
When your Sapling is up to temperature, slide your pizza onto the pizza stone. Ensure that your damper is open, and close the lid. Cook covered for about 10 minutes, or until desired doneness! As Paul Hollywood would say “Don’t be afraid to put a bit of color on your pizza!” Take your wood-fired pizza off the Sapling. Cut, share, and enjoy!
Multipurpose for Multi-Season Fun
We love our Sapling Evaporator for making maple syrup in late winter and early spring. When we designed the Sapling, we set out to create an old-time, barrel-style evaporator to make maple syrup. Something beautiful, efficient, and easy to use. And we succeeded!
Then we thought to ourselves, “How can we make this beautiful piece of equipment useful all year round?” From there we designed the Sapling Grill Package, the Sapling Smoking Package, and the Sapling Wood-Fired Bread and Pizza Oven Package. It all culminates in the Sapling Everything Grill with Evaporator Pan. We’ve since pushed the boundaries of what we can do on the Sapling from grilling and smoking, to making apple cider syrup, to baking bread, and even brewing beer. The possibilities are endless!

FOR MORE INFORMATION ON GRILLING, SMOKING, BAKING, AND MUCH MORE ON THE SAPLING, CHECK OUT OUR OTHER BLOGS:
Grilling with Maple Syrup for All Diets
Dry Rub Smoking on the Sapling
Wood Fired Pizza on the Sapling

