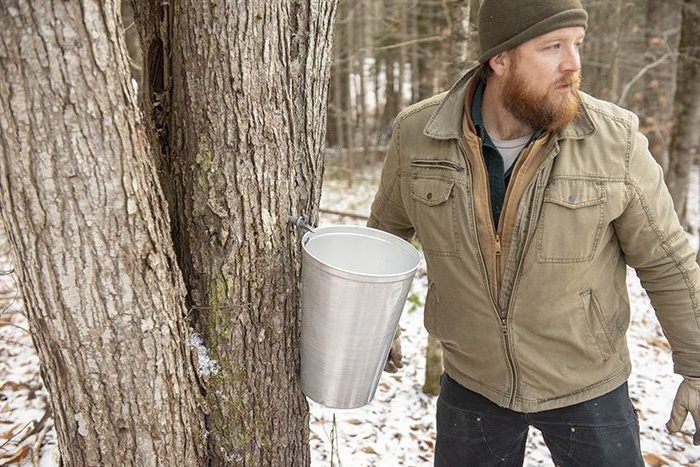
It’s almost 2025 and you’re looking for a healthy, natural, outdoor hobby to get you through to spring. Aren’t we all!? You’ve decided to try your hand at making your own maple syrup this year. Resolution maple! Excellent choice. Here’s how to get started in five easy steps.
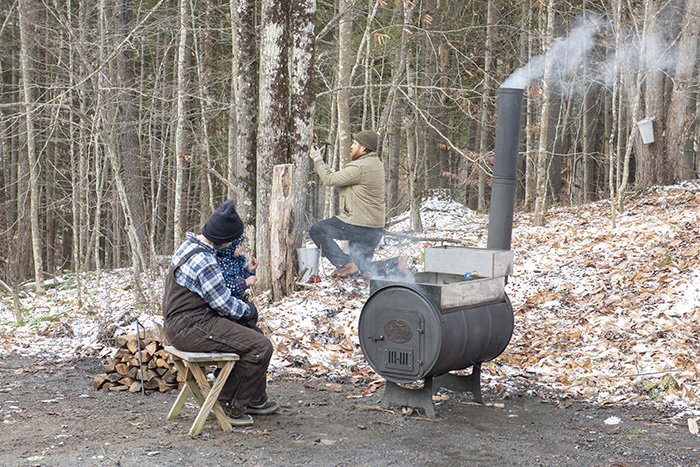
A common tableau in sugar country: a young family making maple syrup at home.
Resolution Maple Step 1: Get Equipped
As long as you’ve identified your maple trees, all you need to do is get a hold of some simple tools and equipment and you’re ready for your first boil. The list of stuff you need is short:
- drill with 5/16″ or 7/16″ tapping bit
- a hammer
- 5/16″ or 7/16″ spiles – also called “taps” (you can find more maple syrup lingo definitions here)
- lidded buckets or other containers (such as cleaned plastic milk jugs attached to the spile with rope or wire) or a tubing kit
- food-grade containers for sap transportation and storage (5 gallon buckets work fine)
- cheesecloth
- maple syrup finishing thermometer and maybe a syrup refractometer or syrup hydrometer
- a small (kitchen) and/or large (outdoor) filter kit
- syrup storage containers such as syrup bottles or canning jars
- a heat source, fuel and a cooking vessel you can use outside (our Sapling Evaporator and DIY Seedling Evaporator Kits are wood-fired, open-air evaporators that come with a special sugaring pan, or you can rig up a homemade substitute of your own design)
Resolution Maple Step 2: Tap
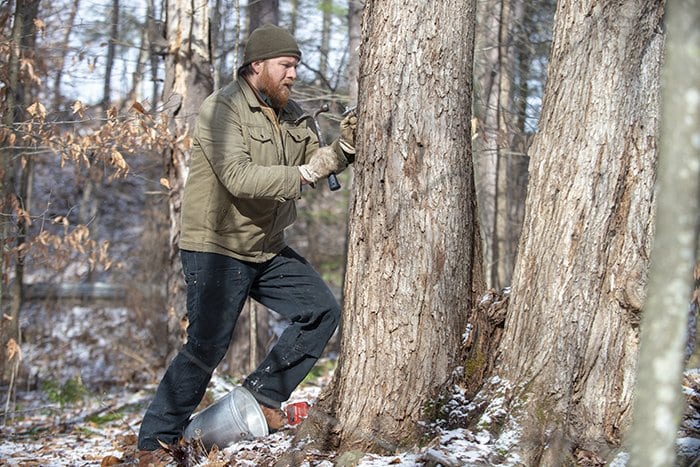
Sap runs when daytime temperatures thaw and nighttime temperatures freeze. That is the time to tap.
When to tap? It depends on where in maple country you live and what the weather is doing. Sap runs when nighttime temperatures freeze and daytime temperatures thaw. So, maple syrup makers in the South, the Southern Midwest and Mid-Atlantic may tap in January. In the Northern Midwest and in New England, however, we typically don’t tap until at least mid-February and sometimes not until March. And at certain elevations further north, folks have to wait until April. So pay attention to what the weather is doing and what other maple syrup makers are doing in your area. A great resource for the latter are the forums on mapletrader, which are broken down by state. Or you could ask your local sugar maker and make a friend in the process!
How to tap? Proceed to your first maple. Choose a height that is both convenient for the driller and collector, considering snow pack and melt. Inspect your tree. For best results, you should choose a place on the tree that is either below a big branch or above a big root, and definitely not near a knot or wound. When you’ve chosen your spot, drill a hole of about one and one-half inch deep at a slight, upward angle and look for nice, light, creamy wood chips and sawdust coming out. If what you see is dark or dead, find another spot and try again. Gently tap in your spile, hang your sap catching container, and voila!
Resolution Maple Step 3: Collect Sap
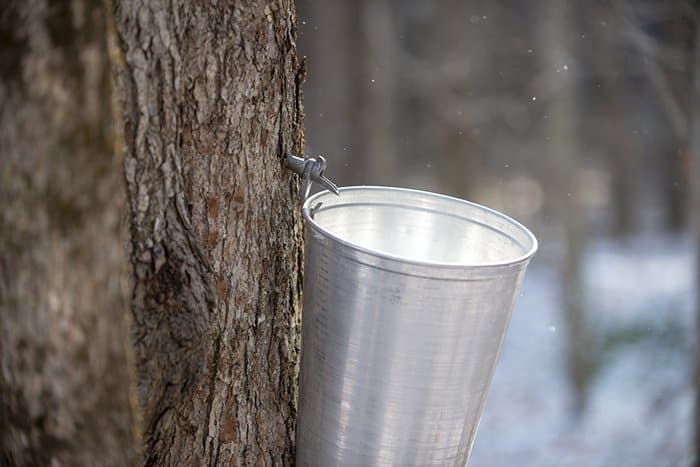
Waiting for that sap to run!
Collecting and storing sap is easy. Monitor your sap containers daily so that the sap does not overflow or get to warm. When your containers are full, or when the sap is exposed to warm temperatures or direct sunlight, collect from the tree and store in snowbanks in the shade, a cool garage, or other naturally refrigerated place in 5 gallon buckets or other large food-grade containers. Sap will keep for a week or so at refrigerated temperatures. It is OK for sap to freeze. In fact, some of us throw out the ice chunks on the theory that it’s just water. It’s also OKfor you to mix the sap from different maple trees together. It all tastes good!
Resolution Maple Step 4: Boil
When you have time to boil, boil! This is going to take a while, so either start as early as possible in the evening and know you aren’t sleeping much that night, or, better yet, choose a day when you would be home anyway.
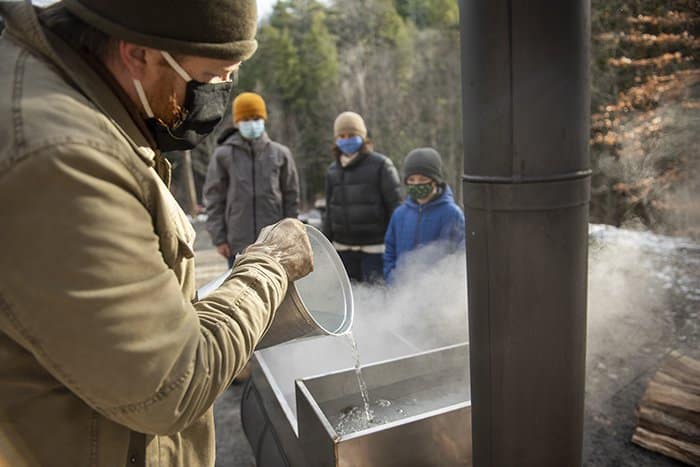
Backyard maple syrup making presents a great opportunity for socially distanced, outdoor gatherings.
Exactly how this goes will depend on your evaporating setup. If you have a continuous-flow pan, like the Sapling Pan or the Seedling Pan, you will flood the pan with sap that you’ve strained through your cheesecloth, start your fire, and continuously pour sap into the entry point. And wait. You should be able to make 1 or 2 gallons of syrup in a 10-hour day with our products.
If you have a series of flat pans, you will flood all pans with strained sap, start your fire, and consolidate the boil into one pan as the levels in all pans reduce, leaving pan(s) open for new sap to be processed. And wait even longer.
If you have one flat pan, you will flood the pan with strained sap, start your fire, and occasionally fill the pan back up again with sap. And wait the longest of them all.
Regardless of your getup, you will measure the temperature (with a candy thermometer or maple syrup thermometer) or sugar content (with a refractometer or hydrometer) of your boil at the exit point or final boiling pan, and pour-off/dump-out syrup when it measures 219 degrees F or 66 brix. OR you can also just dip a spoon or spatula into the boil, and observe how it behaves coming off the utensil and/or on to a cold plate. Syrup is said to “apron” off a spoon, and acts like syrup as it cools on your plate. Sap doesn’t. It acts more like water in both scenarios.
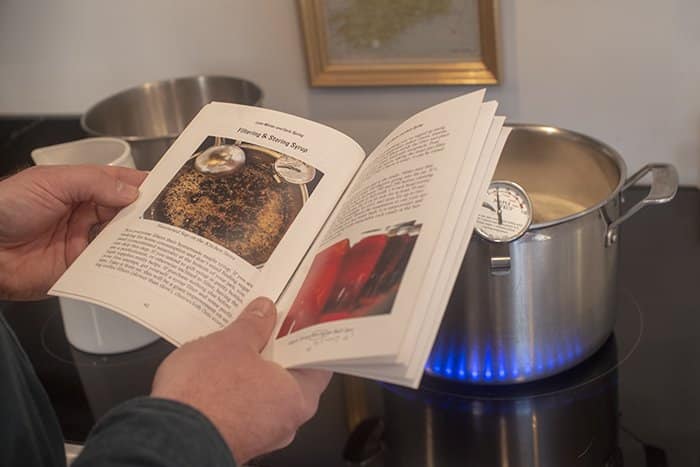
Our Maple Syrup Starter Kit comes with a guide that expands on the information in this post.
Resolution Maple Step 5: Filter and Store
Filtering and storing syrup can be messy, but is straightforward. Filter your syrup right away, confirm that it is sstill at least 200 degrees F, pour immediately into food-safe containers. If done quickly enough, this is all the canning process you need to keep syrup safely in a cool, dark place for two years! For more detail on safe canning, see here.
Have fun and keep in touch!

