
Thinking of making your own maple syrup this season? Trying to figure out what maple syrup sugaring supplies you need to get started? You’ve come to the right place! Here we go over what you need, what’s nice to have, and how it all works.
Maple Syrup Sugaring Supplies – What you need
As long as you’ve identified your maple trees, all you need to do is get a hold of some simple tools and equipment and you’re ready for your first boil. The list of stuff you need is short:
- drill with 5/16″ or 7/16″ tapping bit, whichever matches your spiles (see below!)
- a hammer, mallet, or tapping hammer
- 5/16″ or 7/16″ spiles – also called “taps” (you can find more maple syrup lingo definitions here)
- lidded buckets or other food safe containers (such as cleaned plastic milk or water jugs)
- food-grade containers for sap transportation and storage (2 or 5 gallon buckets work fine)
- cheesecloth or strainer – for straining bugs, sticks and other debris out of your maple sap
- a heat source, fuel and a cooking vessel you can use outside (our Sapling Evaporator and BYOB Seedling Evaporator Kits are wood-fired, open-air evaporators that come with a special sugaring pan, or you can rig up a homemade substitute of your own design)
- maple syrup finishing thermometer and/or syrup hydrometer or kitchen thermometer – anything that can read up to 219°F
- optional: syrup filter and pre-filters – used to get that crystal clear maple syrup, but not necessary!
- syrup storage containers such as syrup bottles or canning jars
Maple Syrup Sugaring Supplies for Tapping Maple Trees
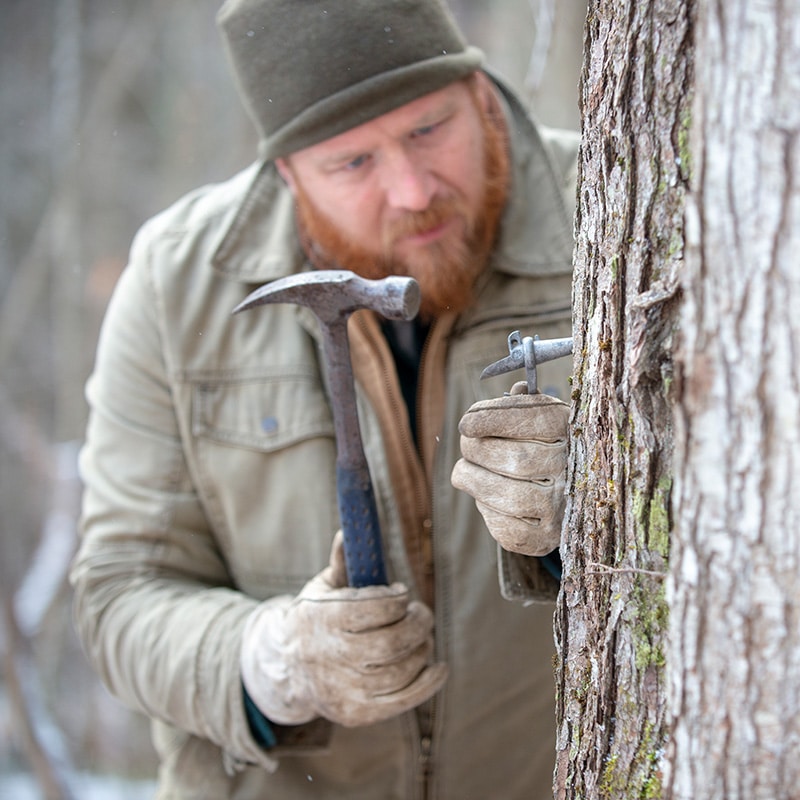 In order to access that sweet sap, you’ll need to “tap” into the tree. Here’s how:
First, you need a drill with a 5/16″ or 7/16″ bit. You can use a cordless power drill or a hand drill – also called a brace. A regular drill bit will do, or you can invest in a “tapping bit,” of either size. Tapping bits are easier to use and make a nice, clean hole. Choose the bit size that matches the spiles you are going to use (see below). You can find a 5/16″ or 7/16″ tapping bit here.
Second, you need 5/16″ or 7/16″ spiles – also called “taps.” Spiles are the spouts you hammer into the tree to direct the sap from the tree to the bucket or other sap-collection container of your choice.
New spiles are widely available in both sizes and come in metal and plastic. If you are in possession of used or even antique spiles, chances are they are going to be of the larger size. New spiles come in a variety of sizes.
You will need one spile per every tap you are going to make. A tree that is from 12 to 18 inches in diameter can support one tap. Trees larger than 18 inches in diameter can take two taps. Putting more than two taps in a tree is not recommended.
Third, you will need a hammer for tapping the spile into the tree after the hole is drilled.
Learn more about tapping maple trees here.
Maple Syrup Sugaring Supplies – Maple Sap Buckets
 Once you’ve successfully tapped your maple tree, you’ll need something to collect the sap! You need lidded buckets or other food-safe containers such as clean plastic milk jugs attached to the spile. How the spile and bucket are connected depends on which spiles you used.
If you used a spile with a hook, like these 7/16″ metal spiles, you’ll need to attach your buckets directly to the spile. You can do that with plastic or metal buckets with lids, other food-safe containers such as clean plastic milk jugs attached to the spile with rope or wire, or even food-safe plastic bags which are widely available.
If you used spile with a drop line, like these 5/16″ plastic spiles with drop lines, you can simply place your maple sap collection container on the ground. You can use any clean plastic food safe container, like milk jugs, water jugs, or food safe 5 gallon buckets.
It is important to note that the old galvanized buckets may contain lead, and it is possible for lead to leach into your sap if sap is left in the bucket for long enough and temperatures are high enough. (Our family has used the old galvanized buckets in the past but we are phasing them out.) Newer metal buckets are typically made of safer aluminum, there are plenty of plastic-bucket options.
Learn more about tapping maple trees here.
Maple Sap Storage and Straining
 Once you collect your sap from the tree, you’ll need to store it until you’re ready to boil!
There are several storage container options available; the important thing is to choose something that has been manufactured for food storage. Food-safe, polyethylene drums are widely available. This is what we use; two 55 gallon drums are sufficient for our 50-tap hobby. There are also food-safe liquid totes out there that are often put in use for sap storage. These are large capacity; purchasing one of these is likely to feel like overkill, but also give you room to grow if you plan to expand your operation. Online forums like Craigslist and Maple Trader are great places to check for these kinds of sap storage containers.
Thinking smaller than 25 taps? Food-safe storage containers come in as small as 2 or 5 gallon! They are widely available online. Or, a local restaurant or other food vendor may be willing to give or sell you containers that would otherwise be thrown away or recycled. Several of these may be just what you need. If you have 2 gallons of storage per tap, that should be plenty. Stay away from garbage cans and run-of-the mill 5 gallon buckets and anything else not sold for food or as food safe, and you’re good to go!
When putting sap into your storage containers, we find this is a good time to filter your sap to get out any bugs, sticks or other debris that may have fallen in your bucket or collecting container. You can use cheesecloth or strainer to get the big bits out!
Learn more about collecting and storing sap here.
Maple Syrup Sugaring Supplies for Boiling Maple Sap
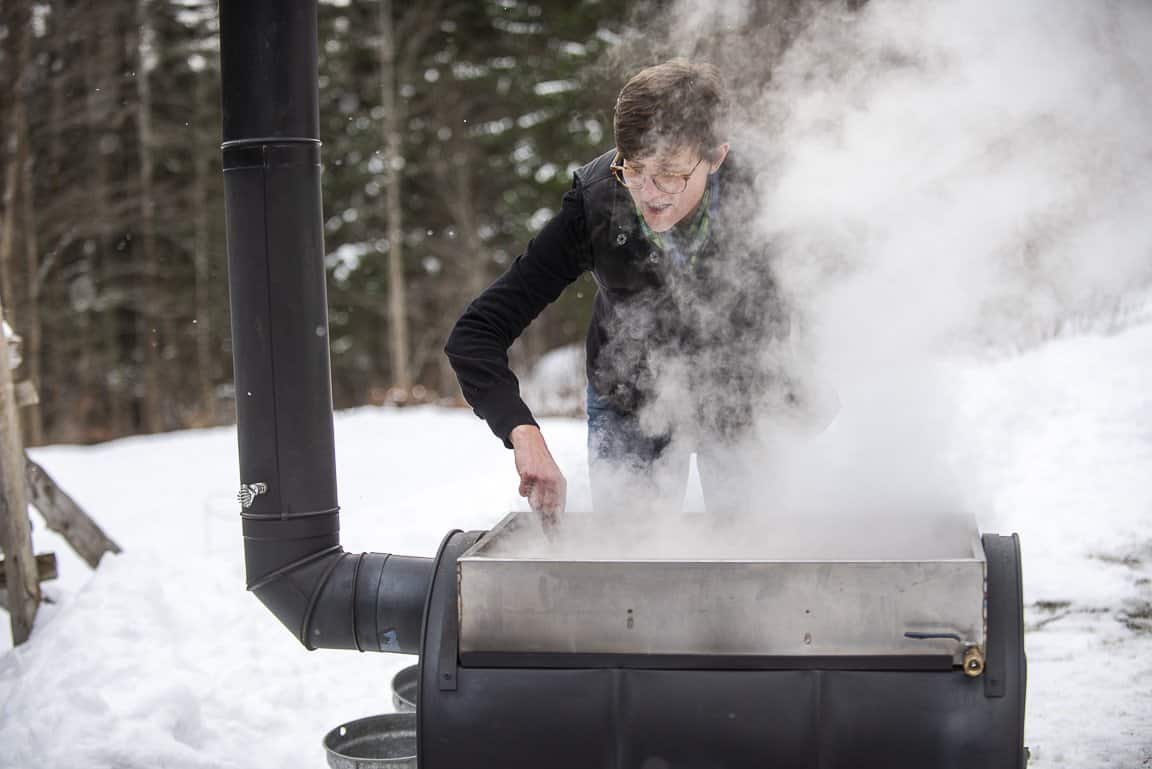
All you need to reduce sap to syrup is a cooking vessel and a heat source. We suggest you abandon any plans of sugaring indoors (pasta pot on stovetop or kettle on parlor stove) because of the mess it makes in your living space (sticky cabinets and peeling wallpaper). Outdoor cooking methods avoid this problem, and also . . . get you outdoors.
Cooking Vessel:
If you have purchased a special sugaring pan (yes we sell those too) it should come with instructions. These pans are handy because they are engineered for efficiency. If you haven’t purchased such a pan, when choosing a cooking vessel from your collection, keep in mind that the more surface area you have, the faster your boil will go. So, tall and thin brew pots are not as good of a choice as, say, the broiling pan for your thanksgiving turkey, for example. Many first-timers invest in one or more stainless steel buffet pans to maximize surface area while minimizing expense.
Heat Source:
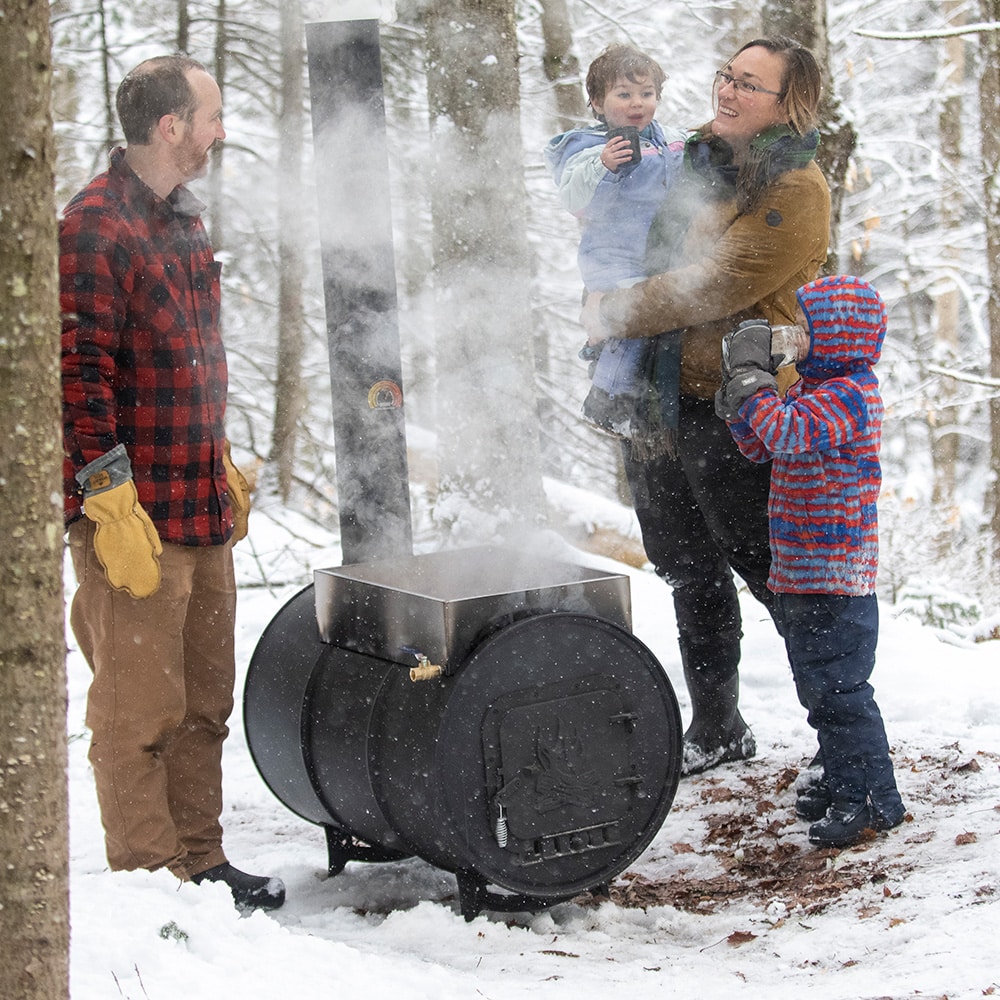
Wood is a great fuel for sugaring; with wood, you can make a very hot fire at a very low cost; you can sugar with wood of a different quality than what you burn in your house. Wood fires can be messy, though, and, unless you enclose the fire and direct the smoke away from your boil, your syrup may end up tasting a bit like bacon. That doesn’t bother everyone, but for those looking to avoid it, there are many common options, including converting old wood stoves, oil tanks, barrels or even file cabinets (truth!) into an enclosed firebox. Others include assembling cinder blocks or bricks and stovepipe into enclosed, outdoor fireplaces.
Propane is a tidy, but slower and more expensive heat source. If you are using propane, opt for high-BTU burners like turkey fryers rather than using your propane grill, and be sure to protect your flame from the wind by situating yourself in a windbreak or “bricking in” your flame as you would a wood fire. And then prepare to buy a lot of propane.
There are now commercially available hobby evaporators for the backyard sugar maker. These units come with instructions and, if we do say so ourselves, are a great choice for beginners. While you may find homemade units online, naturally, we have a lot to say about the benefits of our products. If you aren’t interested in investing at all in specialized equipment, though, that’s really ok! Many of us simply start out putting together heat-source-cooking-vessel combinations from things we already own or can acquire on the cheap.
Learn more about making maple syrup here!
Sugaring Supplies to bring your Sap to Finished Syrup
 Now that you have a heat source and a cooking vessel, you can make maple syrup! To start, situate your pan over your heat source, put some sap in it, light your fire, and bring your sap to a boil. Then boil, boil, boil!
Maple Syrup Sugaring Supplies – Filtering and Storing
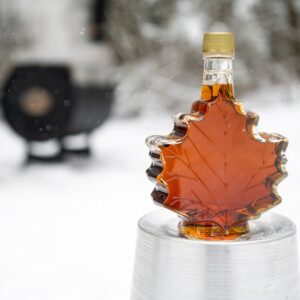
Happy Sugaring!